As I was working on my Ornament for the post this past Wednesday, I kept getting these beautiful backgrounds behind the trees. But with the ornament and Cloche Domes, you couldn’t see much of the sky in the background. Today’s card shows that gorgeous background and you can see more of the forest behind the village.
What’s amazing is that all the backgrounds that I made have a color variation in them so they are all slightly different. To get a similar background look, here are the steps you’ll need to take.
- Cut your white card stock to the desired size.
- Use your aqua painter or a paint brush to add water across the part of the card stock that you want to ink. Make sure the paper is damp (but not dripping).
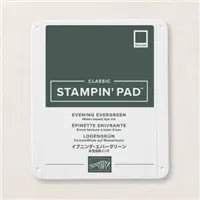
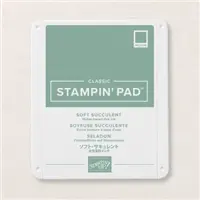
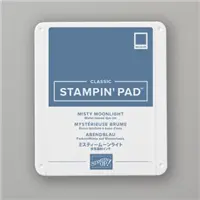
- Lay the wet card stock face down onto your ink pad and gently press in.
- Peel up your card stock.
- Use your wet aqua painter or a paint brush to spread the ink around. Be sure to fill in any areas that didn’t get enough ink.
- Set aside to dry or use your heat tool to dry the card stock faster.
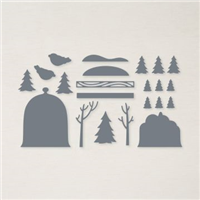
- Once your base sheet is completely dry, you can add your trees and snowy village on top. I used lots of pop dots for the layering between the trees and village.
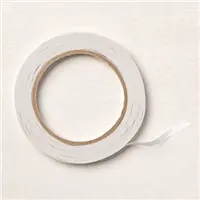
- You will need to use our tear & tape across all four sides to glue down the card stock piece. Otherwise, the card stock won’t lie flat.
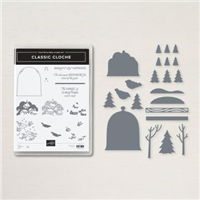
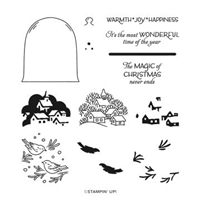
I think this is the last project I have right now using the Classic Cloche Bundle. This bundle is on the retiring list so if it’s one you must have, don’t wait to purchase it. You can go straight to my only store, but click on the Shop button on the right.












Leave a Reply