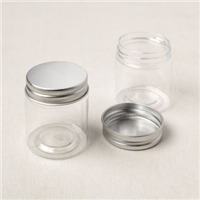
Somehow I managed to stock up on our mini jam jars so I really need to get creative with some different uses for them. The jars are 2″ tall by 2.5″ wide so whatever I was going to make needed to be tiny.
A few months ago, I jumped on the tiered tray bandwagon. This is basically a tray that has multiple layers, usually two or sometimes three, and you decorate them with little seasonal items. Usually the decor is crafty-type handmade items. Well, these mini jam jars are just the perfect size for my tiered tray! Halloween is the next Holiday so that’s what I went with.
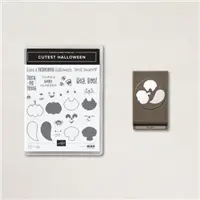
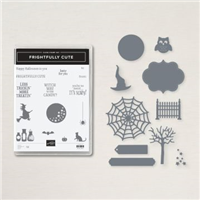
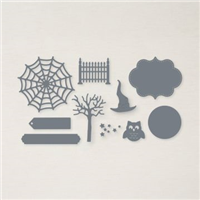
I really lucked out that Stampin Up came out with a Halloween die set with really tiny things! The Frightful Tags Dies had everything in just the right size.
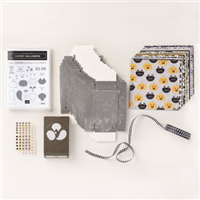
To make this jar, you will need the items on the supply list below and a hot glue gun. I’ll give you a quick run down on how to assemble this.
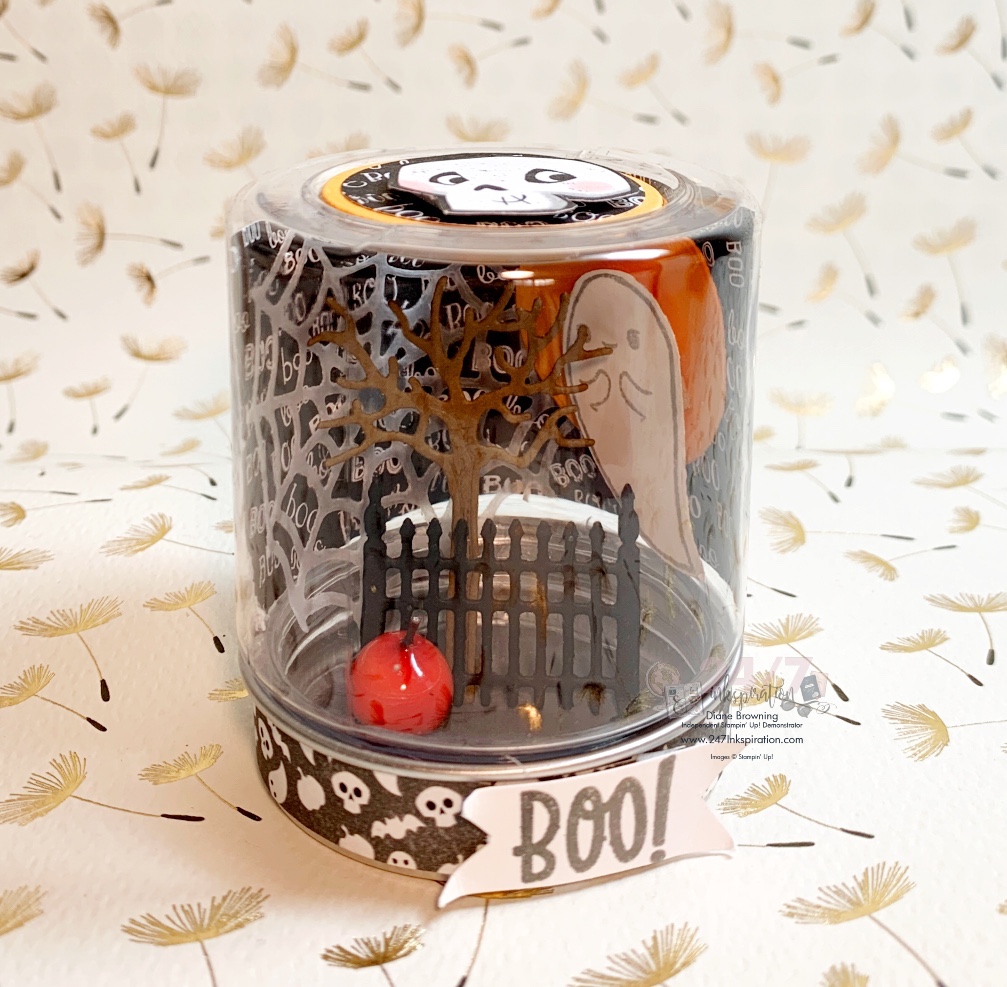
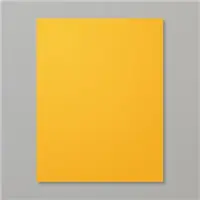
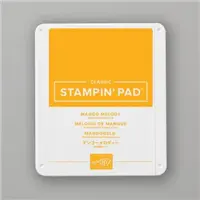
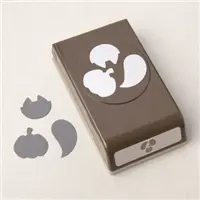
- Start by die cutting all your pieces for the inside of the jar: 1 black fence, 1 Crumb Cake tree, 1 vellum spiderweb, 1 Mango moon, and 1 ghost stamped and punched.
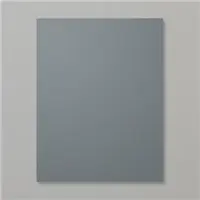
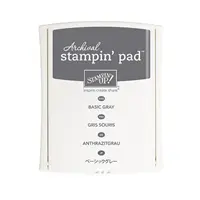
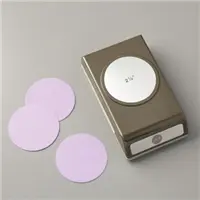
- Punch a 2.25″ circle of Basic Gray card stock. This is the base inside the jar. In the center of the circle, hot glue your black fence standing upright. You’ll want to fold over the bottom feet of the fence on the ends to give you a flat gluing surface. Give it a few minutes to set.
- Use the hot glue to add the pumpkin in front of the fence. Then glue dots to add the tree behind the fence. The tree needs to be towards the center of the fence. The pumpkin is an orange “berry” cut off from a bunch that was part of a floral pick you see at local craft stores.
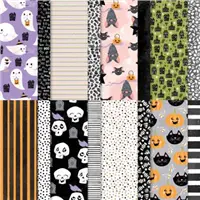
- Cut a piece of the pattern paper 1.75 x 3.5″. This is your base for the background.
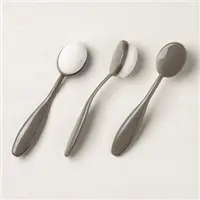
- On the far right side, add your moon with a dimensional. I inked my moon with our blending brushes just to give it a little more color. Then add your ghost on top with a dimensional.
- On the left side, add the spiderweb using your hot glue gun. I used just a dab in the center of the web. Your web sill hang off on the left side just a bit.
- On the back of your pattern paper add a glue dot on the bottom two corners. I found this helped keep it in place when putting the lid back on. If you look closely, there is a seam in jar and you’ll want your pattern paper to line up with the seam on the one side.
- Before you put the jar back on the lid, you will want to curve your tree branches in slightly. Otherwise, it will catch on either the ghost or the web as you screw the lid on.
- Once the lid is on, add the bit of pattern paper around the lid. The 6×6″ paper is going to be a tad short, so I pieced in a second small strip of the same pattern paper.
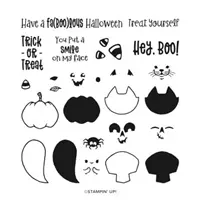
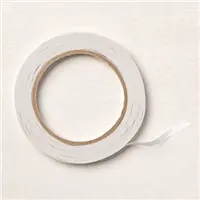
- Stamp your “Boo!” and then trim the ends to look like a pennant. Adhere with tear and tape or hot glue.
- For the top of the jar, die cut a second Mango moon, then punch a piece of pattern paper to layer over it. I used the same paper as my background inside the jar. Cut a skull from the pattern paper and add using dimensionals. The adhere the circle to the jar, you’ll want to use our black dimensionals or a hot glue gun. I tied the white dimensionals and they really were noticeable so I replaced with the black.
I think this will be perfect on my tiered tray with all my other little Halloween items.
There is just something fabulous about tiny collections in a jar. After making this Halloween jar, I’m wondering what other Holidays will fit inside. Coming soon… Christmas?












Leave a Reply