Every Fall I try to make at least one Halloween home décor piece to add to my collection. And each year, I try to make something different. This year I made a small witch’s hat. Witch’s hats are so easy to make.
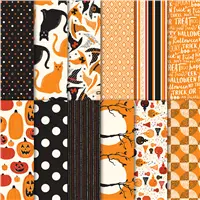
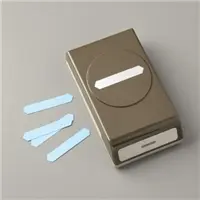
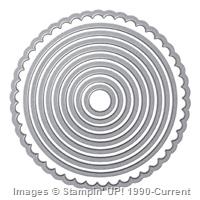
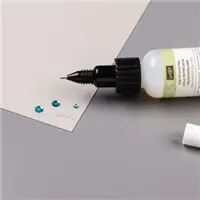
The witch’s hat started as a plain chipboard cone from the local craft store. My cone is approximately 7″ tall. I cut a piece of the Spooky Night paper to fit around the outside of the cone. I cut the paper on the diagonal so the corner of the paper would line up with the point of the hat.  I used our Tear & Tape to glue the paper to the cone. The hat brim was die cut using the older Stampin Up Circles Collection dies. I like this set of dies because they are larger than what we currently have. The cone is glued to the hat brim using our fine-tip glue.
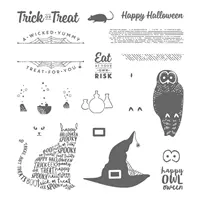
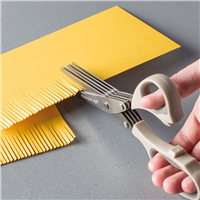
The top of the hat has this cute little pop of color. I used my Fringe Scissors to cut the fringe. The Fringe Scissors are on the Clearance Rack right now. If you haven’t picked up a pair of these scissors, you definitely should while they are on sale. Once we sell out of them, they’ll be gone forever. The Happy Halloween is glued on with glue dots.
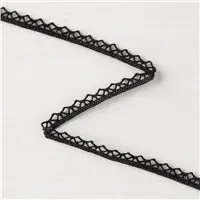
 For the base of the hat, I cut out a couple of the pumpkins from the pattern paper and glued them to the brim. The beautiful crochet trim finishes off the look.
 I know we’re not quite halfway through September and I’ve already made one Halloween decoration. I can’t believe I finished this year’s project so early. I might have time to make one more this year.
  Hosting a holiday catalog event is always fun—and we’ve just sweetened the deal with our exciting Merry Patterns Host Promotion. If you host a party with $300 in sales by October 31, you’ll earn the FREE Merry Patterns Stamp Set.




Leave a Reply