• Skip to secondary menu
  • Skip to main content
  • Skip to primary sidebar
  • Events
  • Clearance Rack Deals
  • Latest Specials

247Inkspiration - Diane Browning, Stampin' Up! Demonstrator

Sharing Crafty Goodness...

  • Home
  • Current Catalogs
    • Earn a FREE Catalog!
  • Join My Team!
    • Downline Rewards
    • Sign Up Online!
  • Project Ideas
  • Shop Online!
    • Latest Specials!
    • Earn 24/7 Purchase Rewards!
    • Host Codes
  • Shop

Shaker Cards

June 6, 2016 by Diane 2 Comments

Have you noticed that shaker cards are really popular lately? There’s just something totally cool about seeing all those little sparkly sequins moving around inside the card. There are two ways to make a shaker. You can add it to the front of the card so it’s sitting on top. Or, you can add it to the side of the card. This card has the shaker on the inside and all the mechanics for the shaker are completely hidden.

OS46

  • Even though this looks like a fairly simple card, there are a lot of little steps that need to be done in the correct order.
  • The first step is to use the smaller rose die from the Rose Garden Thinlets to cut out the image on the front of the Whisper White card stock.
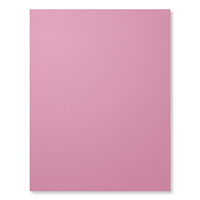
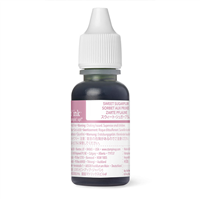
  • Then cut a second rose out of the Sweet Sugarplum and set it aside for now.
  • Using an Aquapainter, splatter ink across the front of the Whisper White card stock.
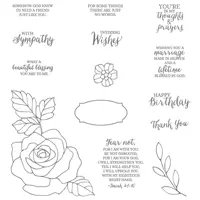
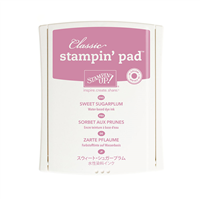
  • Stamp the sentiment in Archival Basic Black ink.
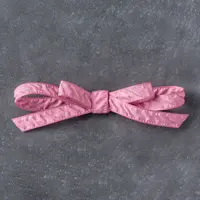
  • Cut a length of ribbon that will wrap around the outside of the card and through the hole where the rose image was cut out.
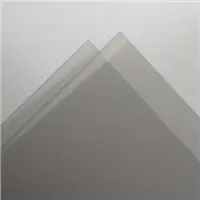
  • Cut a piece of Window Sheet big enough to cover the hole in the front of the card and adhere it to the inside of the card covering the entire hole.
  • On the inside of the card, use foam strips to outline the flower. Be a little generous in the outlining, you don’t want to be able to see the foam strips from the front side of the card.
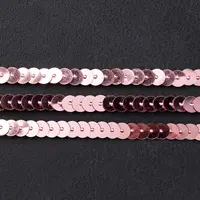
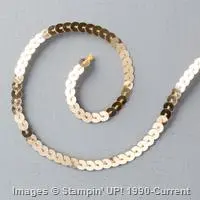
  • Add sequins into the center of the foam strips. The sequins come sewn together so you will just pull off however many you want to use.
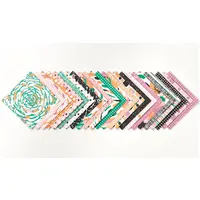
  • Cut a piece of pattern paper to fit across the entire inside of the card. This will hide the mechanics of the shaker card.
  • Peel the backing from the foam strips and adhere the sheet of pattern paper to the inside of the front of the card.
  • Cut and add the strip of black pattern paper to the front of the card.
  • Using Clear Wink of Stella , color all of the petals from the Sweet Sugarplum rose.
  • On the front of the card, adhere the Sweet Sugarplum rose using the Fine-Tip Glue Pen to the Window Sheet. Go really easy on the glue with the Glue Pen.

It’s too bad you can’t really see the sparkle from the Wink of Stella. In real life the Sweet Sugarplum rose is super sparkly. I wish it photographed better. It just doesn’t show up no matter the angle.

140619
Rose Garden Thinlits Dies – 140619

Price: $31.00

140697
Rose Wonder Photopolymer Stamp Set – 140697

Price: $27.00

140272
Whisper White 8-1/2″ X 11″ Thick Cardstock – 140272

Price: $7.00

141418
Sweet Sugarplum 8-1/2″ X 11″ Cardstock – 141418

Price: $8.00

142314
Window Sheets – 142314

Price: $5.00

141657
Playful Palette Designer Series Paper Stack – 141657

Price: $10.00

140931
Basic Black Archival Stampin’ Pad – 140931

Price: $7.00

141395
Sweet Sugarplum Classic Stampin’ Pad – 141395

Price: $6.50

141400
Sweet Sugarplum Classic Stampin’ Ink Refill – 141400

Price: $3.25

103954
Aqua Painters – 103954

Price: $17.00

141897
Clear Wink Of Stella Glitter Brush – 141897

Price: $8.00

141428
Sweet Sugarplum 3/8″ (1 Cm) Ruched Ribbon – 141428

Price: $8.00

138400
Blushing Bride Sequin Trim – 138400

Price: $5.00

132983
Gold Sequin Trim – 132983

Price: $5.00

141825
Foam Adhesive Strips – 141825

Price: $8.00

129026
Fuse Fast Adhesive – 129026

Price: $10.00

138309
Fine-Tip Glue Pen – 138309

Price: $7.00

Supply List

Filed Under: Annual Catalog & Idea Book, Cards

Reader Interactions

Comments

  1. Poli Rizco says

    June 6, 2016 at 11:09 pm

    Diane,
    That is absolutely stunning! I have never seen a shaker card quite like it. Awesome job!

    Reply
    • inkspira says

      June 7, 2016 at 6:13 am

      Thanks Poli! This is one of my submissions for the OnStage contest!

      Reply

Leave a Reply Cancel reply

Your email address will not be published. Required fields are marked *

Primary Sidebar

Diane Browning, Stampin' Up! Demonstrator

Diane Browning

Independent Stampin' Up! Demonstrator
Diane@247Inkspiration.com

Subscribe to Blog via Email

Enter your email address to subscribe to this blog and receive notifications of new posts by email.

Click Here to Shop My Online Store!

Host Code: ZRM7FRUX

Click here for how to
redeem Host Codes

  • Facebook
  • Pinterest
  • Twitter

Current Catalogs

Stampin' Up! Annual Catalog Stampin' Up! Winter Mini Catalog

Categories

Archives

Follow on Instagram

Member of…

Certifications

Intellectual Property and Copyright Information

Images © Stampin’ Up! 2012 & Diane Browning, Independent Stampin’ Up! Demonstrator.
The content of this blog is my sole responsibility as an independent Stampin’ Up! demonstrator and the use of, and content of, the classes, services, or products offered on this blog is not endorsed by Stampin’ Up!

© Diane Browning, All Rights Reserved • Images Copyright Stampin' Up! No affiliation with Stampin' Up! is involved or implied. Genesis for Wordpress Hosted by WebsByAmy.