
Welcome to our NEW AT SU! Blog hop! We are a group of Stampin’ Up! demonstrators from around the world who are Hoppin’ with creative paper crafting ideas to share with you. Today we are showcasing soon to be retiring products from the 2020-21 Annual Stampin’ Up! Catalog and a fabulous stamping technique.
One of my favorite techniques is the “baby wipe” technique. This technique is so easy to do and it has a WOW effect in the final card. Here are some quick instructions and tips for the baby wipe technique:
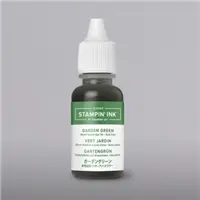
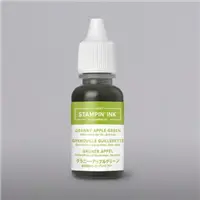
- Start with a piece of foil that’s approximately 14×14″ and then fold it in half. Take a baby wipe and squirt some reinker onto the baby wipe. Don’t worry about getting even dots of ink or colors blending together.
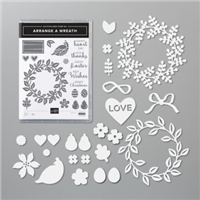
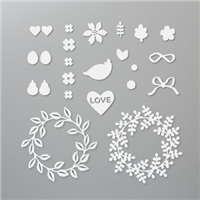
- Place whatever you’re coloring face down on the baby wipe. You can see the wreath here in the picture.
- Fold the foil in half over the the die cut image. Press the foil together and rub the entire area where your die cut is.
- Peel open the foil gently. You’ll see that the ink has seeped through the die cut. If you have areas that did not get the ink, you can move your die cut around and repeat the steps.
- If you’re dyeing a number of pieces, you’ll want to add more reinker to the wipe periodically. If the wipe ends up too saturated, just start over with a new wipe.
- I use foil as my “folder” for this project since it’s nonporous. The ink won’t seep through and get all over my desk or my hands.
- When I’m not actively dyeing an item, I keep the foil folded closed so I don’t accidentally drop something onto the inky wipe or stick my hands into the ink.

You’ll need to set aside your pieces to allow them time to dry. As this is the fun part. Look at how different they all look, but yet they all go together so well. Plus all the color variations make my wreath look more realistic.

And here is the final project using those wreaths. Oh my goodness! I love how this turned out.

I hope you enjoyed today’s project. If you have any questions about how to put all this together, just let me know.
As you go through the New at SU Hop, be sure to leave comments on each page in the Hop letting us know what you liked. To get to the next page in the Hop, click the Next button below to see Anke’s amazing work.

If you think you missed anyone along the way, you can click on the link below and it will take you right to their Blog.
- Scrappy Strip Technique/Dandelion Wishes: Tricia’s Stamping Creations
- Clear Block Stamping/Rooted in Nature: Sugar & Scraps
- Blends & Alcohol Technique/Sweet Magnolia: Lilypad Stamper
- Blistering Ink Background/To A Wild Rose: De Kijkkast
- Joseph’s Coat Technique/Gorgeous Posies: Stampin’ Scrapper
- Mirror Stamping/Beauty Abounds: Carterie Plus
- Faux Metal Embossing/Loyal Leaves: Playing with Papercrafting
- Bay Window Card/Comfort & Hope: Gifted Hands Ink
- Reverse Masking/So Much Love: Stamping Flair
- Bokeh Technique/Butterfly Gala: Creative Juice with Loni
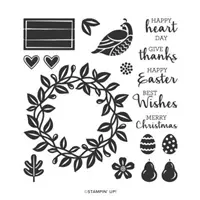
- Baby Wipe Technique/Arrange a Wreath: 24/7 Inkspiration
- Kissing/To A Wild Rose: Scraphexe
Please contact your Stampin’ Up! demonstrator if you have any questions or to make a product purchase. I would be happy to answer any questions about products or the techniques shown here. If you do not have a demonstrator, you can use the below link to order products from me or join my 247Inkspiration team.


A perfect technique for variegated leaves, Diane, and using a piece of tin foil for a folder keeps your fingers clean~ terrific tip!
Oh such a great variation in this technique. Love it, and love the result!
Love Love Love this! The colors are beautiful together!
How cool is this, Diane? I’ve only ever used the baby wipe technique with stamps! So many new things to try. The wreath turned out beautifully! Thanks for the inspiration!
The varying greens just look beautiful on the wreath. Love your card Ciane.
How brilliant!! I have seen the baby wipe tecnique before, but this shines a new light for me. Genious using the foil.