I am so excited that the Holiday Catalog is now LIVE to customers. There are so many amazing things in the Catalog this year. I hope you’ve been saving up, because your wish list is going to be huge.
I usually start off September with Halloween and Fall projects. But don’t worry, I’ll be sprinkling in some Christmas and Winter projects here and there too. I know that people like to get an early start on their Holiday cards.
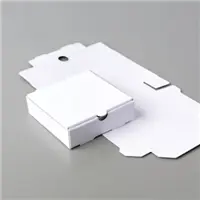
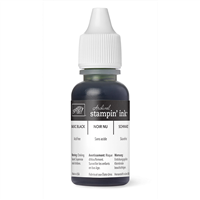
Today’s project uses one of our brand new Mini Pizza Boxes. The boxes come in white – one side is glossy white and the other side is a flat white. The flat white side can easily be colored like I’ve done here today. I used my Spritzer with a combination of rubbing alcohol and Black reinker to spray the boxes. It took a couple coats to get an even black color.
The boxes are 3.5×3.5×1″. A set of 3×3″ notecards and envelopes would fit perfectly inside. It is also wide enough to fit a credit card size gift card or any other smallish gift.
Here are some tips to recreate this project.
- Spray the outside of the Mini Pizza box with your Spritzer. You might need a couple coats to get even coverage. Set aside to dry.
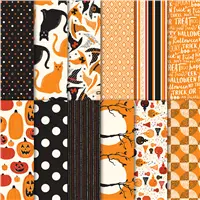
- One the Box is dry, glue your pattern paper square to the box lid.
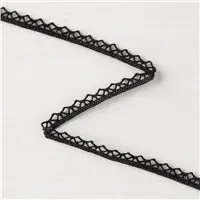
- Using your 1/8th” hole punch, punch two holes on each side of the lid. Thread the Black Vintage Crochet Trim through the holes and tie in a bow on one side.
- To make the rosette, I use two circles to sandwich the rosette and hold it together. The circle on the back should be small enough that it won’t be seen. The rosette is a strip of paper that’s 1″ x 12″ long. I scored it every .25″. Fold on each score line back and forth so you end up with peaks and valleys. Using Tear & Tape, glue the two ends together.
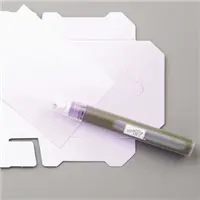
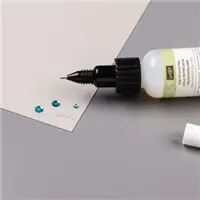
- I bunch my rosette so the hole in the center stays as small as possible. I used my fine-tip glue to glue it to the base circle and then used the fine-tip glue to glue the top circle. You will need to hold it in place until the glue starts to set.
- Once the rosette is dry, you can glue it to the top of the box. I used dimensionals to glue it down.
- Center the Pumpkin Pie pattern paper on the black circle. Then add the label using dimensionals.
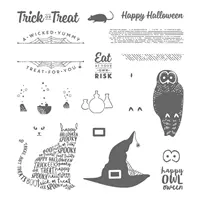
- I stamped the Happy Halloween on a bit of Pumpkin Pie paper and then punched it out.
- Black Rhinestones are the perfect embellishment to finish this off.

I think this will make the perfect treat holder for someone special this Halloween. I’ve got a few more ideas for these Mini Pizza Boxes. These are going to be great for Holiday Gifts.
 This is the last week for Fall Into Savings Paper Pumpkin promotion! If you sign up by September 10th, your September kit will be half off. Sign up using promo code HALFOFF0917 at paperpumpkin.com by September 10. The 50% discount only applies to the new subscriber’s first kit. After that, the price for each month’s kit will return to the regular price of $19.95 USD. Click the link on the left to go to my Paper Pumpkin subscription page and sign up now.
 Hosting a holiday catalog event is always fun—and we’ve just sweetened the deal with our exciting Merry Patterns Host Promotion. If you host a party with $300 in sales by October 31, you’ll earn the FREE Merry Patterns Stamp Set.






Leave a Reply