I’m a wanna-be quilter. That is… I love the look of quilts and I’ve attempted a number of them on my own. But, I think I have only ever finished two smallish quilts. I must have at least five partial quilts that are in various stages of completion. I always seem to run into a problem like machine keeps jamming or can’t decide on a pattern for the quilting part or I run out of that specific fabric in the middle of a row.
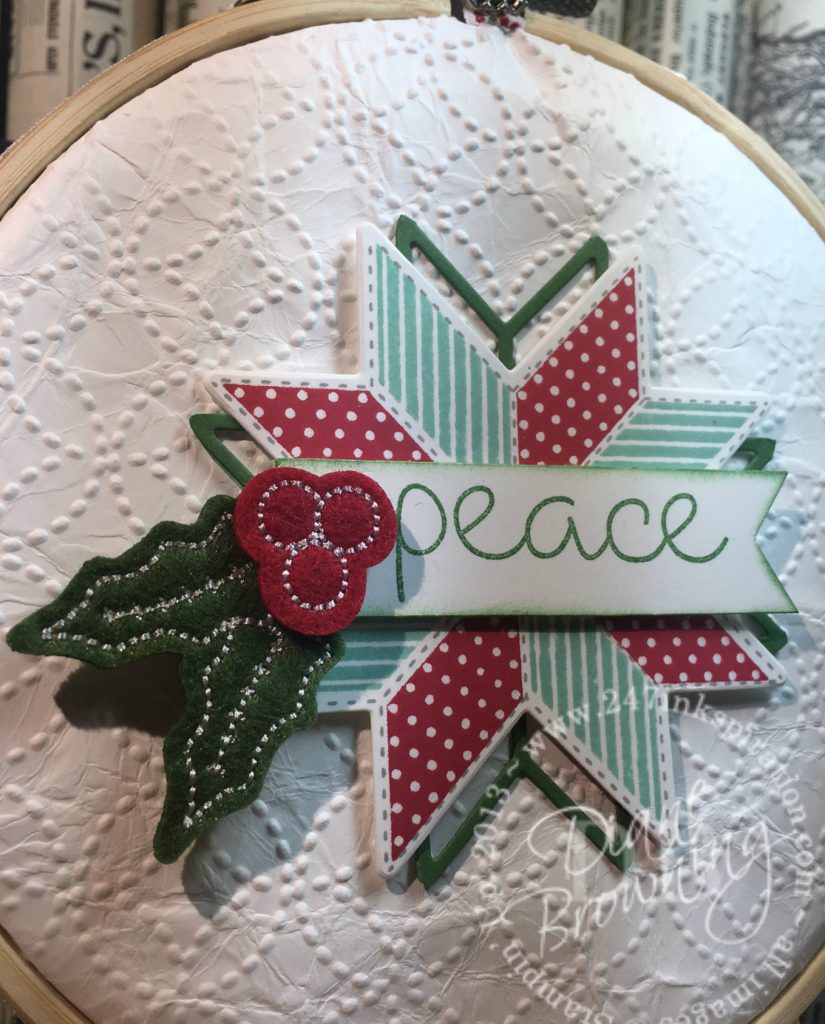
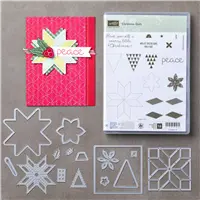
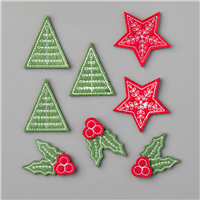
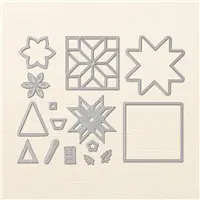
I’ve decided that quilting with paper is much easier. And smaller. And I can actually finish one of these projects! Today I’m sharing a needlepoint hoop that I decorated with our new Christmas Quilt stamp set and coordinating Quilt Builder framelits.
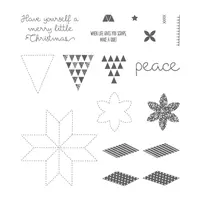
Honestly… I wanted to love this stamp set. It looks so cute in the catalog. And all those quilted shapes just warm my heart. But… stamping all of the shapes for the large star was quite a challenge. I stamped and tossed half a dozen attempts to get it lined up just right. I’m hoping that when the new Stamp Platform is released that stamp sets like this will be so much easier.
To stamp the star, you’ll want to start with the large outline piece. Then there are two different pairs of diamonds stamps: one with polka dots and one with stripes. Very carefully line up each diamond pair and then stamp it. Take your time with the diamonds so you’re lined up just right. I did the stripes in one color and the polka dots in a different color – just like you’d see on a quilt.
![]()
Now, you’re probably asking yourself how did I get the paper into the quilt hoop and it looks so neat around the edges? Here is how you get the paper into the hoop.
- First, cut your paper bigger than your hoop. You’ll need extra paper to play with as you put this together.
- Then crumble your paper into a ball.
- Keep working the paper until the ball is as small as you can get it.
- Unfold the ball of paper being careful not to tear it.
- If the paper is not very pliable, roll it back into a ball and keep working with it until it is pliable. Be careful with this step. The more pliable the paper is, the easier it will tear.
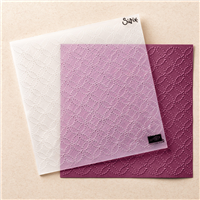
- Once the paper bends easily, put it inside your embossing folder and run it through your Big Shot.
- You can see here the fine wrinkles in the paper almost make it look like fabric.
- Put the outside hoop flat on your desk.
- Place the embossed paper on top of it, centering it over the larger hoop.
- Put the inside hoop on top of the paper and then push it down into the larger hoop.
- At this point, you’ll need to make sure the paper is evenly tight all the way around the hoop as you tighten the outside hoop onto the small hoop. Really try to get it tightened as tight as you can.
- Once it’s firmly attached, trim off the excess paper on the back side.
- I ran a line of fine-tip glue along the backside of both of the hoops so both sides of the paper are glued to each hoop.
- Once the glue is dry, decorate the hoop.
 I love the way the hoop looks, but it is a bit of work to get the paper into the hoop. If you want to save some time, you can always make this same project on a wood ornament like this.
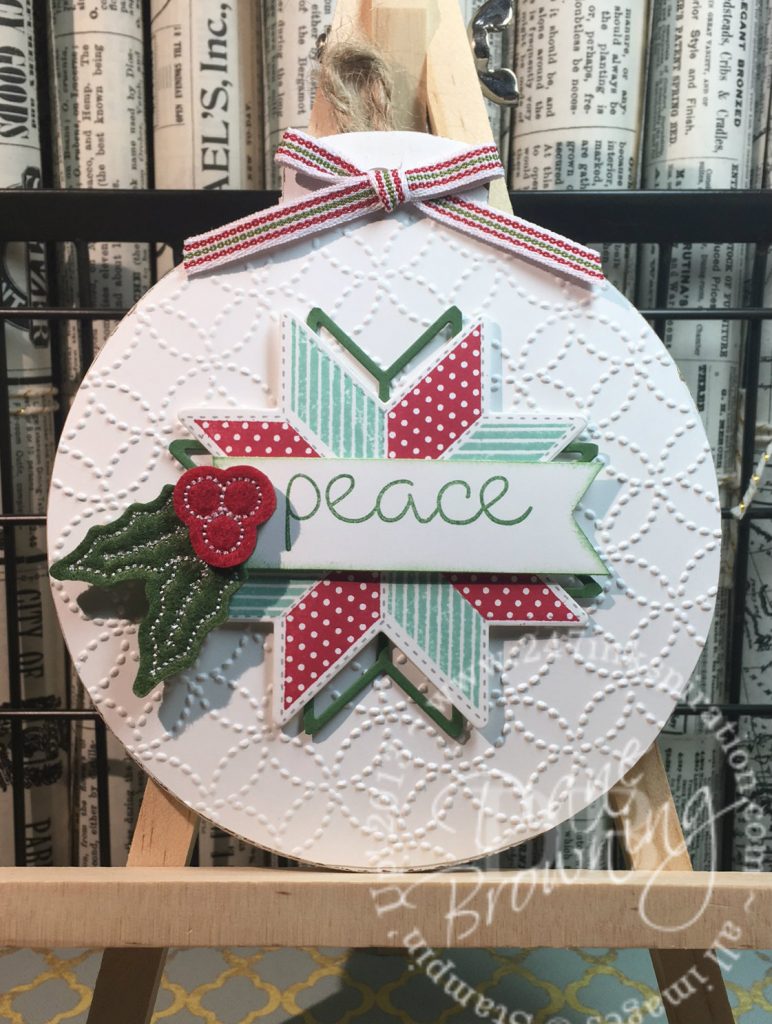 Instead of working the paper like you do with the hoop, for the wood ornament, you just need to make sure you cut the right size circle. Then the circle is glued to the wood ornament.
 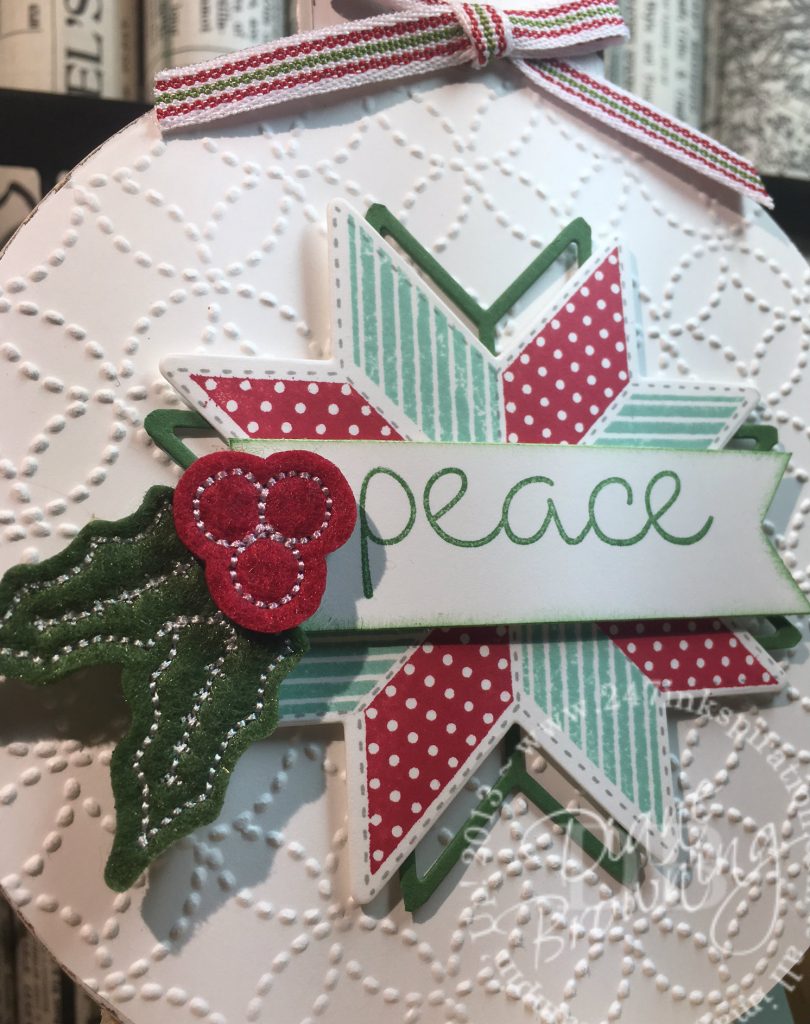 You can see that this version doesn’t have all the fine wrinkles in it. Both are pretty and either would make an excellent gift for that friend or relative that really does sew.

Stampin Blends markers are now available to purchase! These are alcohol based markers and they help you create beautiful coloring with shading. With a little bit of practice, you’ll have these markers mastered in no time.


Leave a Reply