As a mom, I love leftovers. In fact, I look forward to leftover night because it means I don’t have to cook! When the kids were younger, we’d have a leftover night once a week. I would get all the containers of leftovers we’d accumulated over the last couple days and it was first come, first served. Until I started doing this, I never saw kids so eager to pick out leftovers for dinner. Now that I have two teenagers, there are never any left overs. In fact, I could go shopping today and tomorrow we’d have an empty fridge again.
As a crafter, I generate lots of leftovers too. You know, those bits that didn’t make it into the project or card. I find myself hoarding those little bits on the corner of my desk until I have the opportunity to use them. I constantly ask myself why am I keeping that bit of scrap paper? Or those extra stamped pieces that I didn’t use? Am I ever going to run out of Whisper White card stock that I won’t be able to restamp that in the color that I want? (I can assure you I will never run out of Whisper White card stock. Ever. In fact, Stampin Up’s warehouse will probably run out before I do.)
This past weekend, I decided it was time to use or toss that pile of little bits. In that pile was a container of my leftover homemade texture paste from my cupcake cards (you can see them here) and some flowers. That little box of paste has been annoying me for the last week or so. I’m done making those cupcakes for now. But to toss a perfectly good craft supply…. (And this is exactly why I have a pile of bits on my desk.)
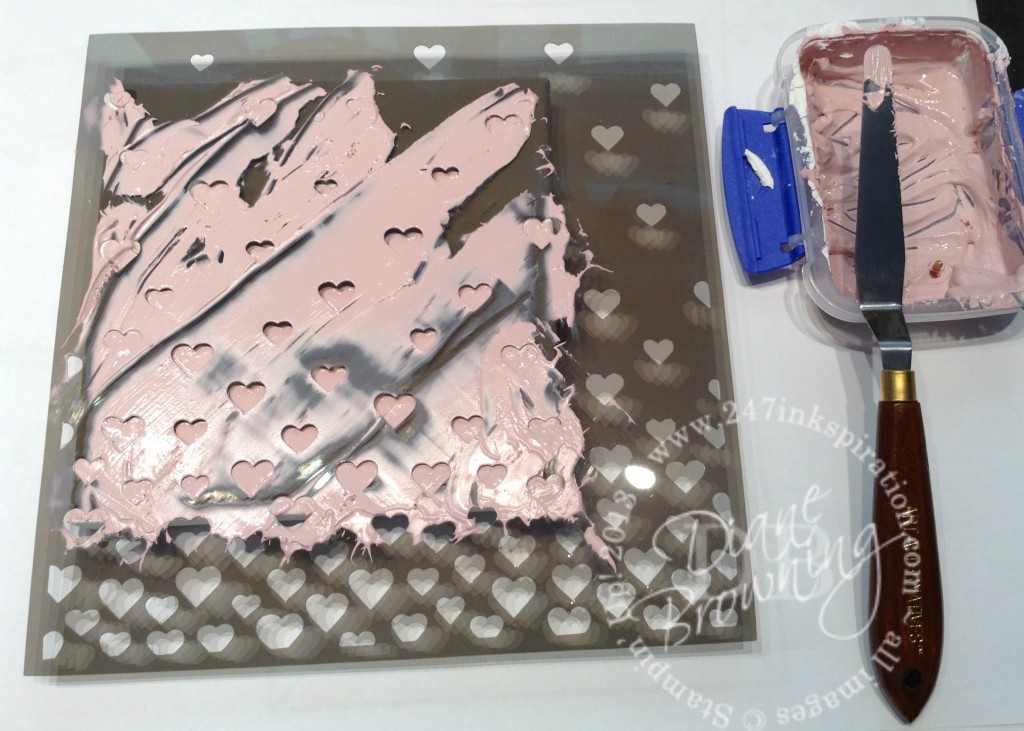
When I’ve used texture paste in the past, I’ve always used it with stencils and mat board or canvases. I buy these little 6×6″ canvases when I see them on a really good sale at the local stores. If you decided to try something like this, be sure to pick a canvas that has already been “primed” or “gesso-ed”. This is a basically a layer of primer that’s already been applied to your canvas so your project will sit on top of the primer. Without the primer, your paint or mediums will soak into the canvas which will produce a completely different effect.
Holding down the stencil with one hand, spread the texture paste using a palette knife. Think of it like decorating a cake. You want enough paste to get the effect, but not too much that it looks like globs. When you are done putting the paste on the project, clean up your stencil and palette knife immediately. Do not let the paste dry on your supplies or you will have a very tough time getting it off later. Yes, I learned this the hard way years ago and now I know to never do it again. Set aside your canvas to dry.
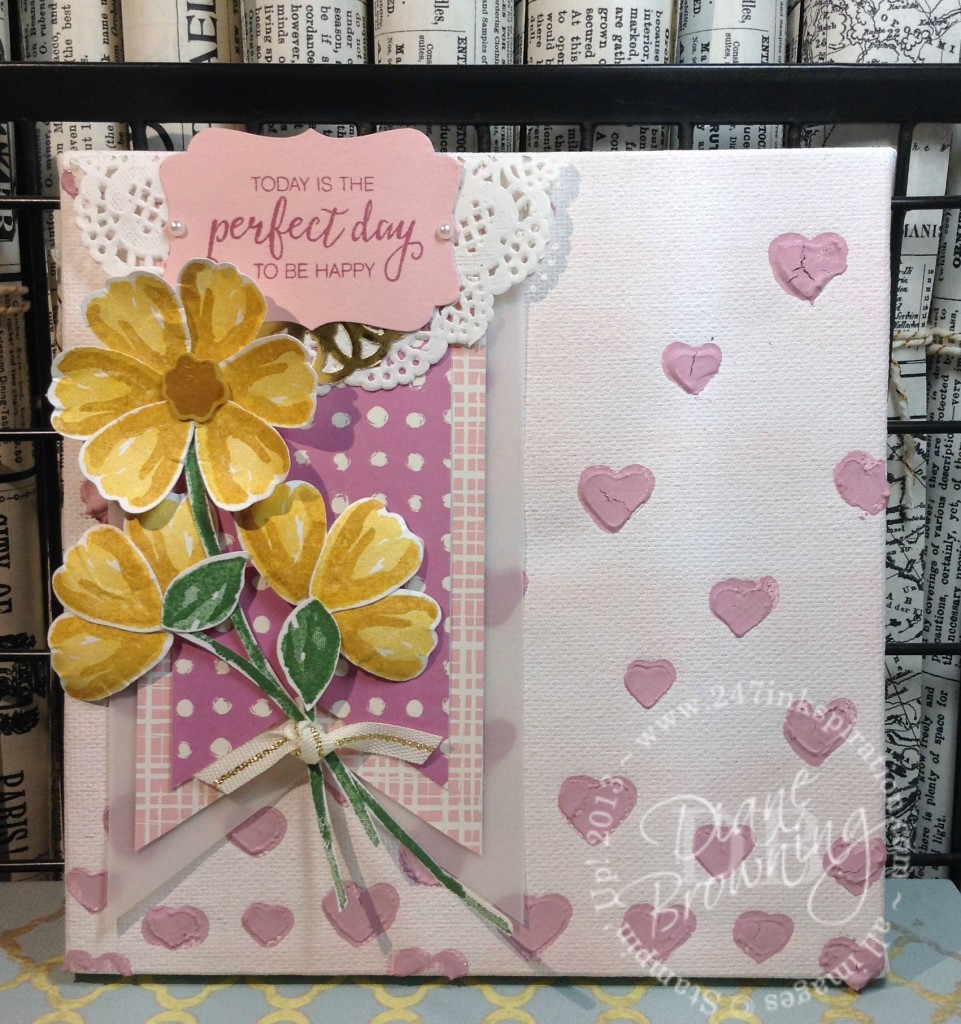
This is what the canvas looks like after it’s had time to dry. The paste did crack in a couple places where it was thicker. Overall it looks pretty good.
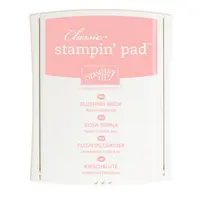
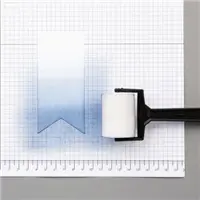
The white canvas was a little too white for me. I used our brand new sponge brayers in Blushing Bride ink to cover the entire background. Since I was using a lighter pink color, I just rolled right over the tops of the paste hearts, making sure to have an even color in the background. If you were going to use a different ink color for the background than the paste, you would want to ink the canvas first and then add your texture paste second.
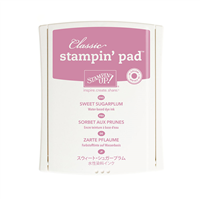
I originally started with flowers in Sweet Sugarplum, but they didn’t stand out very well. Using a color wheel, I found that yellow is a complimentary color to pink. Since Sugarplum is a deep, rich color, I needed a deep rich yellow to go with it and came up with Delightful Dijon. Who knew that Sweet Sugarplum would look really good with Delightful Dijon? I would have never thought to pair those two colors together. They do look pretty amazing together!
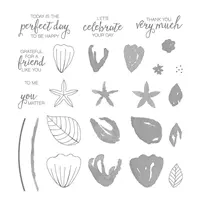
The flowers are from the Bunch of Blossoms stamp set. I used my embossing stylus to round the petals so they look a little more realistic. The petals are a two stamp stamp. The first layer is in Crushed Curry. The top layer is in Delightful Dijon. I did stamp off each Dijon petal once before stamping it on top of the Curry. I used Tear & Tape to hold the tag to the canvas. Then arranged the flowers so the stems could be tied together. I doubled the length of the stem for the top flower just by stamping it a second time. I added clear Wink of Stella to every Sugarplum heart but of course Clear Wink is too camera-shy to actually appear in the picture…like usual. (I have no idea why Clear Wink doesn’t actually show up in pictures. The sparkle is so pretty in real life.)
Do you remember me mentioning that I first tried this with Sugarplum flowers? Yep, now I have a pile of them on my desk. Leftover. Well, not for long! I used most them for a card.
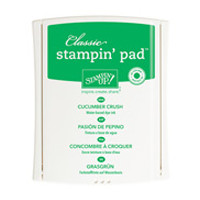
This is kind of the reverse of the canvas. I used Delightful Dijon card stock and the Delightful Dijon pattern paper from the Moroccan Designer Series Paper pack and paired it with the Sweet Sugarplum flowers. These flowers are Blushing Bride and Sweet Sugarplum. The leaves and stems are Mint Macaron and Cucumber Crush this time.
Don’t be afraid to try new techniques or color combinations. If it doesn’t turn out the way you’d hoped, there’s always the trash can. Seriously. It’s just paper. Play with it! You might find something you really like or a new technique that you love.




Leave a Reply