
Today, I’m joining The What’s New at Stampin Up Blog Hop. We are a group of Stampin’ Up! demonstrators from around the world who are Hoppin’ with exciting ideas to share with you.
Today we will feature products from the Sale-abration Catalog. I know you will find a lot of wonderful ideas shared today.
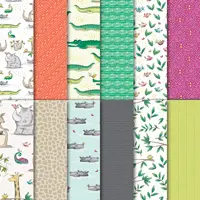
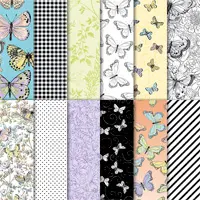
One of my favorite products from the new Sale-abration Catalog is the Botanical Butterfly pattern paper. I absolutely love this paper. This pack has several bright bold butterfly patterns and the backsides have bright bold black and white patterns. Today’s project uses this amazing paper in a mini scrapbook. The pattern for this mini album is called a squash book.
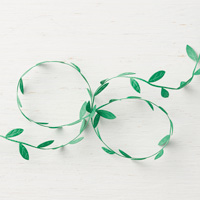
This is the front of the album. The ribbon is adhered on the back of the album and wraps around the front so you can tie it closed.
 This is the back side. You’ll need to glue your ribbon down before you glue your pattern paper down.
  This is the inside of the album. The four white squares are where I’ll add my pictures later. The paper with the black and white pattern diamonds with the blue butterflies comes in black and white only. I used a sponge dauber to add a little color to the butterflies so they would stand out. The bit of color helps those butterflies pop on the page. And, since the paper is black and white, you can make them whatever color you want to match your project.
  This is the backside of the album. You can see there are only two spaces for photos on the back because one square is the front of the album and the other is the back of the album.
 I bet you’re wondering how this folds up into a small 4×4″ book. This photo below gives you a rough idea of how all the pages “squash” together. The blue and purple diamonds are folded up and in. The black center diamonds are folded down and back.
 Here’s my pattern for this album. You can use just about any size square. I started with an 8×8″ piece of card stock, which folds down to a 4×4″ mini album. If you used a 10″ square, the album would end up 5×5″. If you used a 12″ square, the album would end up 6×6″. You could go start with a smaller square, like 6″, but keep in mind, each square or diamond becomes that much smaller. You’ll need to cut and score three pieces of card stock just like the pattern below. Note that you score only on one diagonal, not both. That diagonal will end up being rotated as you can see in the second pattern image below.
  The bottom image in the pattern is how you overlay the three pieces of card stock. You can see the vertical score lines are where your diamonds end up in the picture. I recommend using a strong adhesive like our Tear & Tape to hold the three pieces of card stock together.
I hope you enjoyed today’s mini album using that beautiful Botanical Butterfly paper. I can’t wait to get some pictures this Spring so I can add them to my album. If you have any questions about the pattern or how to put all this together, just let me know.
As you go through the What’s New Hop, be sure to leave comments on each page in the Hop letting us know what you liked. To get to the next page in the Hop, click the Next button below to see Loni Spendlove’s amazing work.  To go back to the page prior to mine in the Blog Hop, click the Previous button below and you can see Anke Heim’s fabulous project.
If you want perks like being able to get your products early, then you need to sign up to be a Demonstrator. But, don’t sign up today! You need to wait until January 3rd so you can take advantage of the Sale-abration rewards that are available. There are two options for signing up: Option 1 spend $99 and select $175 in products to come in your kit; Option 2 is spend $129 and select $175 in products for your kit and get that amazing new Craft & Carry Tote Bag! I was able to get one of these tote bags last month and it is so great. I love that it fits my paper trimmer and has a ton of pockets for so many things.

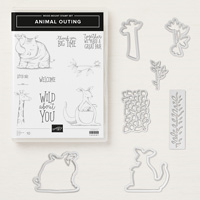
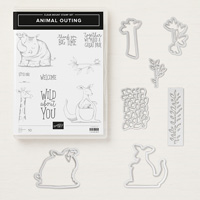
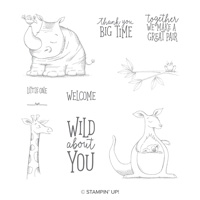
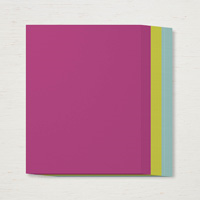
For those of you that want to be prepared when your January kit arrives, we have some inside information on what to expect for January. Next month’s kit will make 24 adorable Valentine’s treat packages. Plan to order extra kits if you want to make these for your kids classroom Valentine’s Treats. The coordinating colors are: Crumb Cake, Flirty Flamingo, Lemon Lime Twist, Melon Mambo, Petal Pink, and Pool Party. And, the January kit will coordinate with the Animal Expedition Suite on pages 26 and 27 of our Annual Catalog. I’m so excited to see what they came up with!
 If you order your Animal Expedition Suite early January, you’ll have it in plenty of time for the Paper Pumpkin kit to arrive.

 If you haven’t checked out my webstore in the last couple days, you probably haven’t noticed that the Clearance Rack has a bunch of new items that were added. Click on the Order Online button on the right to go to my store. Don’t wait because products are already selling out.
Oh my goodness! Guess what’s now available. It’s a tote bag for your Stamparatus. And it is beautiful. There is plenty of pockets inside to hold your Stamparatus, some extra plates, and your grid paper. You are going to love this tote bag. This bag will be available now and it’s $29 (item #149695). If you’ve been waiting to purchase the Stamparatus until the tote was available, you can buy both as a bundle for $78 (item #151961).


Wow!
I love your project! Thank you for sharing!
Thanks Joyce!
What a fabulous album! I’ve seen them before but it looks so stunning with these papers.
Thank you! And you’re right, these papers are so pretty!
Beautiful job and fun project! Thanks for sharing the pattern too!
Thanks Karie!
Great design of this!
Thanks!
Simply amazing card design. Love all the detail 🙂