Today, I’m joining The What’s New at Stampin Up Blog Hop. We are a group of Stampin’ Up! demonstrators from around the world who are Hoppin’ with exciting ideas to share with you. Today we will feature products from the Holiday Catalog. I know you will find a lot of wonderful ideas shared today.
My project today is a Fall banner using several new products in the Holiday Catalog. This banner was designed to be freestanding for a shelf or a mantle. It is 6″ tall by 20″ long so it’s a good size. Each of the five panels are 4″ wide.
 The base of my project is one sheet of 12″x12″ Espresso card stock. I cut the sheet in half at 6″ and scored down the length every 4″, creating three panels on each of the 6″x12″ pieces. The center piece is where the two 6″ x 12″ pieces are connected by overlapping one panel from each piece. Once the panels are decorated, you can’t tell that they overlap at all.
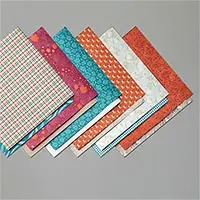
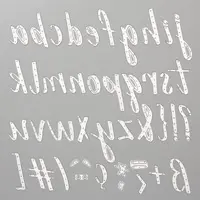
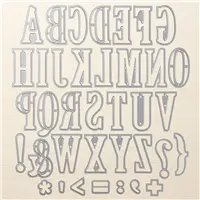
Each panel has a layer of Pretty Peacock card stock, which measures 5.75″x3.75″. The pattern paper on top of each panel is 5.5″x3.5″ and is glued directly to the Peacock card stock. The Crumb Cake ribbon is glued to the pattern paper at 1.75″ down from the top. Then each of the “Fall” letters are centered over the top of the ribbon.
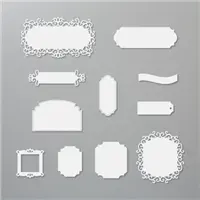
I used a dauber to add a bit of Peacock ink to each of the letters to give them a bit of shading. Then the letters are covered entirely in Clear Wink of Stella to give it that sparkle. The label below the word happy is stretched out using a bit of creative die cutting. I taped my die to my paper, inserted it in my die cut machine and cut out only half the die. You do this by inserting it in the machine only half way and then reversing it so it comes back out the same direction you inserted it. Then I shifted the die down about an inch, taped it back down, and then inserted only that end in the die cut machine and only cut half way down. I did this for both the Espresso frame and the Crumb Cake layer on top. This gave me a label big enough for “happy”. All of the Espresso frames are colored with the Wink of Stella as well, to add a bit of sparkle.
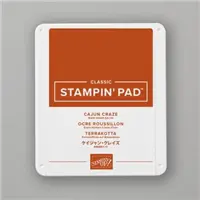
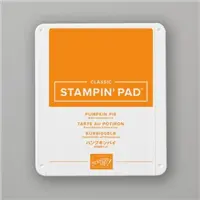
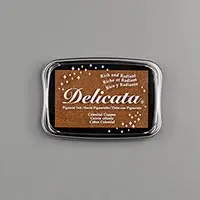
 All of the letters at the bottom of the panels are die cut using the Gathered Leaves die set. This set includes all three leaf sizes and both embosses and cuts at the same time. To add color to the leaves, I sponged the ink onto the dies and then cut out the leaves. This presses the ink into the leaves. The Espresso and Crumb Cake leaves are inked using the Delicata Copper ink. The Cajun leaves are colored using Cajun Craze ink, and the Pumpkin Pie leaves are colored using Pumpkin Pie ink.
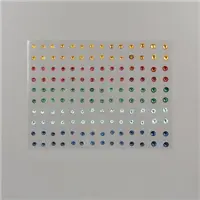
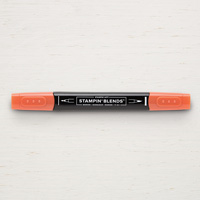
I used two colors from the Holiday Rhinestones from the Holiday Catalog. But they don’t come in Cajun Craze and I really wanted to tie in that third color of the leaves. I used clear rhinestones and colored them with my Dark Cajun Blends marker. This is not something you want to do on a regular basis, because after a while you will damage the tip of your Blends marker if you are not careful. Definitely use a light touch.
I hope you enjoyed today’s project. If you have any questions about the pattern or how to put all this together, just let me know.
As you go through the What’s New Hop, be sure to leave comments on each page in the Hop letting us know what you liked. To get to the next page in the Hop, click the Next button below to see Anke‘s amazing work.  To go back to the page prior to mine in the Blog Hop, click the Previous button below and you can see Loni‘s fabulous project.
 If you missed any posts along the way, you can see the full list here:
Margriet Siekman – Creatiefmarsie
Pat Ertman – Gifted Hands, Ink!
Tricia Butts – Triciastampingcreations
Terry Montgomery – Terryficcards
Judi Anderson – Judistamps
Loni Spendlove – Creative Juice by Loni
Diane Browning – 24-7 Inkspiration
Anke Heim – Scraphexe
Sharon Burkert – As the Ink Dries
Current Specials
Once a year, Stampin Up spoils us with their Pattern Paper Sale and that Sale is going on now!
To give you more of what you love this holiday season, we are offering back-to-back coordinating kits, one with Christmas cards and the other with Christmas tags. Both kits make it easy for you to add a handmade, personal touch to your holiday gift-giving—without a lot of fuss. It’s Christmas made easy with Paper Pumpkin! October’s kit makes 10 cards and envelopes. Coordinating colors: Early Espresso, Pool Party, Poppy Parade, and Shaded Spruce. November’s kit makes 24 holiday-themed gift tags of 4 various sizes and designs. Coordinating colors: Early Espresso, Pool Party, Poppy Parade, and Shaded Spruce. You can sign up for October’s kit starting now. If you already have an ongoing subscription, this will ship automatically.
 Check out our brand new Storage line! These products are now back in stock. Get them before they sell out again.









Love it!
Thanks!
Amazing! I definitely like to case this project with your permission.
Of course you can case this!
One of the prettiest pieces ever!
Thanks Sharon!
Adorable project! I love that it is the perfect size to go into your tiny spaces too!
Thank you Judi!
Beautiful banner! Love the tip you shared on how to make the extended frames. Great ideas
Thanks Sharon!
This is an amazing project Diane! The fact it can be freestanding is brilliant and it’s the best use of the DSP I’ve seen. Happy Fall, indeed!
Thank you Loni!