This past weekend I worked at the Just Crop Retreat again. I love having the opportunity to share what I love with a room full of crafters. I always feel good after spending the day with fellow crafters.
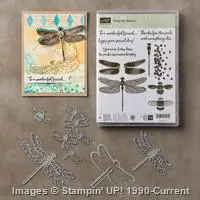
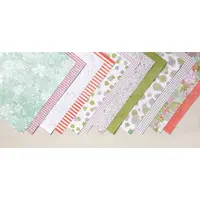
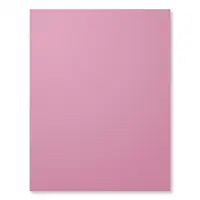
One of my Make & Takes this past Saturday was a Mother’s Day card. This card uses the Dragonfly Dreams stamp set and coordinating framelets. I saw a similar color scheme with the Sweet Sugarplum paper and die cut dragonfly on the Stampin Up website a few weeks ago and I really liked the look in non-traditional dragonfly colors. I changed up my design to what I had on hand and added the Happy Mother’s Day sentiment. 
Here’s a couple tips when making this card.
- I worked on assembling the entire medallion piece before adhering it to the front of the card base.
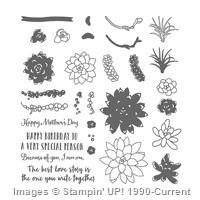
- The Sweet Sugarplum circle is stamped with dots from this set. I inked the stamp once and stamped twice. This gives a a fading look to the dots.
- The Silver Metallic ribbon is folded in thirds and taped to the back of the circle using tear & tape. No messing around with bows or knots – it’s just taped down.
- The two tag ends are punched using the Banner Triple Punch. I flip my punch upside down so I can see exactly where I’m punching my pieces.
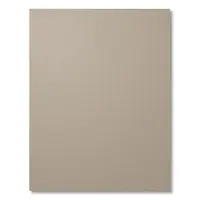
- The sentiment is stamped onto the Tip Top Taupe tag towards the end with the pennant cut.
- Both of these tags are taped to the back of the Sweet Sugarplum circle using tear & tape. And then all of it is glued down to the doilie.
- Adhere your pattern paper to the card base.
- Using more tear & tape, glue your medallion to the front of your card. You really need a stronger tape like the tear & tape to hold it on due to the weight of the medallion. I did not put any tape on the two tags, but you can do so if you like.
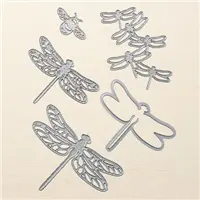
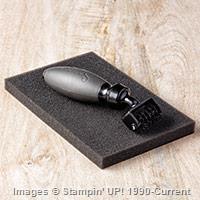
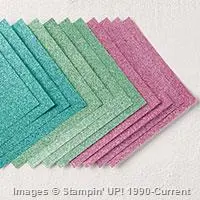
- Cutting the dragonfly out of Glimmer paper: the Glimmer paper is thick and requires a little more effort to die cut. The best option when cutting these intricate dies is to use a Precision Base Plate. If you don’t have one, you can still cut them with your Magnetic Platform or your regular platform, but you will need to make several passes through the Big Shot to cut it out completely. I also recommend using your die brush to help pop out all those little pieces.
- Last step is adding the die cut dragonfly using just a half of a dimensional on the body. The wings will curl up slightly, giving the impression that the dragonfly has landed on the card.
This card was a big hit! Some ladies even made a couple of them. I usually prep for anywhere from 15-20 of each Make & Take because I never know exactly how many people will make the card. And I’ll usually come home with a couple that didn’t get made. This time I actually sold out of all the kits I’d prepped and had to cut more paper while people waited. I might have to come up with a more masculine version for the next retreat for a Father’s Day card.
We are down to the last weeks of Sale-abration. The Sale-abration products are now while supplies last. That fabulous Gold Card Tin has sold out and I expect the Glimmer paper to go pretty quickly as well. But there are still lots of things to pick from. For every $50 purchase (pre-tax and shipping), you can pick one free Sale-abration item.
An even better deal is signing up to be a demonstrator so you can always get your craft supplies at a discount. And during Sale-abration, you get an extra two free stamp sets of your choice when you sign up. That’s approximately $229 worth of products for only $99. That’s more than half off! You can build a business or just be your own best customer, the choice is up to you. Let’s talk if you love a good deal.


Leave a Reply