Now that the Occasions Catalog sales period has started, I’m going to share the rest of my Display Projects that I made for OnStage last November. I shared a few projects last November in the Display Stampers Blog Hop. Here are the links to see that Hop: Day 1, Day 2, Day 3, Day 4, Day 5, Day 6, and Day 7. But I still have quite a few projects that I haven’t had a chance to share yet.
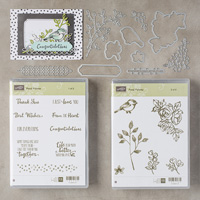
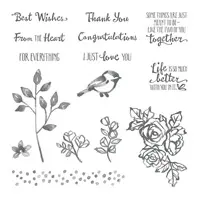
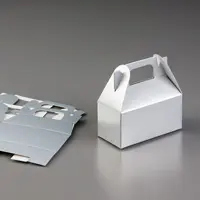
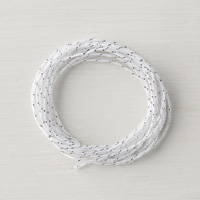
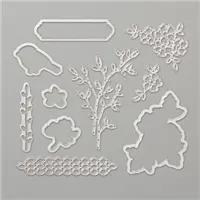
One of the sets that I was able to preview was Petal Palette. Petal Palette has these amazing floral images and sentiments and this adorable birdie. I knew the birdie would make an adorable medallion for one of our brand new mini Silver Gable Boxes. The medallion is tied to the box with the new Silver Baker’s Twine, which matches the Silver Gable box perfectly. 
If you’ve never made a medallion, you should definitely give it a try. They are the perfect accent for gifts and treat boxes. You’ll need all of your medallion pieces (base, center pattern paper, and top) and a hot glue gun.
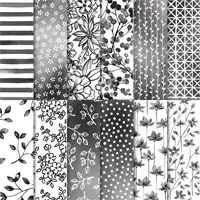
- Start with the piece of pattern paper that you see in the center. This is what you are going to build on.
- Cut this piece to either 1″ or 1.25″ by 12″ long. The wider the strip, the bigger your medallion will be.
- Score this piece every .25″ on your Stampin Trimmer using the score blade. Then fold back and forth on each score line so you end up with a long piece that looks like a continuous line of w’s. Once it’s folded, glue the two ends together. I recommend Tear & Tape for this. Set aside for now.
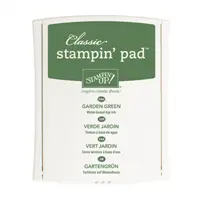
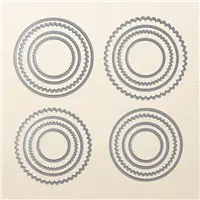
- Die cut the Garden Green card stock into the scallop circle shape.
- Stamp the branch and leaves on Whisper White card stock. Then using the Stitched Shapes framelits, die cut them out.
- Now you have the two pieces that will hold the pattern paper in the center. Start with adding a bit of hot glue to the center of the Garden Green scallop circle. Then place the pattern paper in the middle of the Garden Green. It does take a little finesse to get this pattern paper piece to lay in just the right place before the hot glue cools off. You’ll want to make sure the circle with the pattern paper is small enough that you can see the Green scallop circle base. Once I have it small enough, I add more hot glue to the center of the pattern paper to firmly adhere it.
- Once the zig zig pattern paper is glued to the base, then add a bit more hot glue to the top to add the white card stock circle with the branch and leaves.
- Once that piece cools, finish decorating the front. I added the birdie and the “thank you” using dimensionals.
I hope you enjoyed today’s project. Check back on Wednesday for more of my Display Projects.







Leave a Reply