Okay, be honest, did you just gasp there? Seriously, the days are sailing by at light speed. Before you know it, Back To School supplies will be on sale and Halloween will be right around the corner. And once the Halloween decorations come out, the rest of the holidays will be here as well. Like I said, it’s almost 2017.
It is not too early to start working on those Christmas projects that never quite seem to get done every year. (Admit it, you have box hidden in your closet, filled with half-done projects and good intentions.) You think I’m joking, but I’m not. If you start now before the Fall rush begins, you’ll have an excellent chance of completing at least a couple projects. I’ve got just the one to inspire you to start today.
If you’ve spent any time on Pinterest recently, you’ll have noticed that you can put just about anything in a mason jar: food, plants, flowers, beverages, organizing things, fish, mementos, and the list goes on. There are literally hundreds of pictures of different mason jar crafts. Well, I’ve got one more for you and you’re definitely going to want to make this. This turned out so stinkin cute, I can’t believe it! It just thrills me when a project turns out exactly as I envisioned and it’s as good as I was hoping!
Let me start by explaining that this jar was made over several days to allow drying and assembly time in between a number of steps. I started typing out the directions here in this post on how to make everything for this jar and I quickly realized it was way to lengthy to post here. So, I’ve come up with a great idea which I will be sharing very soon. Check back here on July 1st to see how you can get the full directions for this “Christmas In a Jar” tutorial. In the mean time, I’ll give you some highlights to get you going…
Here in Southern California we don’t get much in the way of snow. I love the way snow looks when I see it in pictures. But I can’t save real snow in a jar because it will quickly turn into water. Craft stores sells bags of sparkly, white “snow”. I love this stuff. It’s not cold and I don’t have to shovel it. Believe me, it can still be messy when you have a faux-snow mishap, like when you pick up the open bag by the wrong end. (On a positive note, you can Swiffer it up pretty easily.) Here’s a peak at the snow.

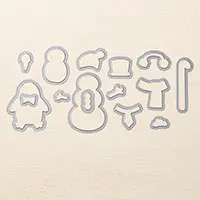
And while we’re playing with snow… let’s make some snowmen. The Snow Place stamp set is perfect for this and it has matching framelits to cut out all the images. To get my little guys to stand up in the jar, I used the partial die cutting technique. With the cutting plate shifted so it’s not covering the entire die, it actually won’t cut out the part it’s not covering. Instead, I added little tabs to the bottom of the snowmen so I’d have something to glue down. To make it easier for placement, I attached the snowmen together with a dimensional. If you do this too, make sure you line them up in the standing position just like they’ll be in the jar.
 The image on the right is what partial die cutting looks like. The top cutting plate does not cover the entire die. The top arrow shows where the cutting plate ends and the bottom arrow shows where the die ends. The image on the left is the hand cut tabs I added to each of the snowmen after die cutting them. These tabs get folded back and allow you to glue the snowmen into the jar.
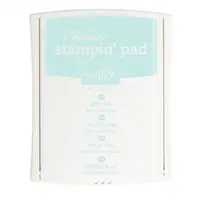
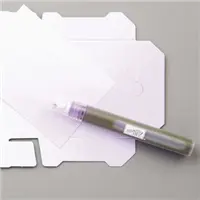
Next up the pine tree! My pine tree originally came in a plain beige color. Using one of our spritzers filled with Garden Green ink and rubbing alcohol, I sprayed the tree green. The rubbing alcohol speeds up the drying time of the ink. Tip 1: When using the spritzer, always double-check the direction of the nozzle before spraying. Tip 2: This is messy – use a box or something else to contain the overspray. Once you’re tree is dry, color the base/trunk in Early Espresso.
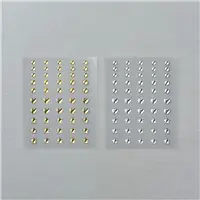
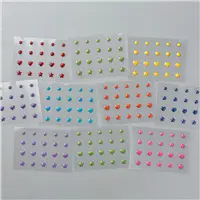
To add the sparkle to the tree, I used lots of glue from my Fine-tip glue, a foam paint brush, and lots of Dazzling Diamonds glitter. This step is messy too. You’ll want to use that box again and you’ll need the silicon mat too. I used a foam paint brush so I wouldn’t have to bother with washing it out. Put lots of glue on the brush, then paint the entire tree with it. While the glue is still wet, sprinkle with the Dazzling Diamonds. Keep painting it with the glue and adding the glitter until you’re happy with the results. I set it on my silicon mat to allow time for the glue to dry (4-6 hours, depending on how much glue). After it’s dry, gently shake out the tree to get rid of any excess glitter. Then I decorated my tree with the Enamel Shapes for ornaments, adding a silver star to the top of the tree. Sorry for the slightly blurry picture. It is really hard to photograph though the mason jar.
 To simplify the next couple of steps: glue the snowmen and the tree in the jar, add snow.
Then on to the jar topper. The wire is actually one long piece that is U-shaped. The Christmas paper covers the portion across the top of the jar. I twisted the wire so I had a way to tie on my pennants and banner. And do you see the silver epoxy star at the very top? It matches the one on the tree.
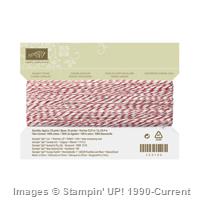
 I love these tassels! Unfortunately, we don’t sell them ready made. But that can be a good thing. I was able to customize exactly what I wanted and combined two different things: Bakers Twine and the Metallic Gold Thread. The Gold Thread is a little hard to see from further away. However, it’s one of those tiny details that may not be much on it’s own but when you add it in with everything else, it’s spectacular.
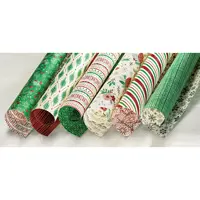
 Each of the little paper banners is covered in clear Wink of Stella. You can see just a hint of the sparkle on the green pennant. If there was one thing about Wink of Stella that I would change, it would be that you can get a decent picture of the sparkle. These pennants shimmer like crazy in real life, but in the picture, you can only see a small hint of the sparkle.
Putting it all together… here is a picture of the entire jar.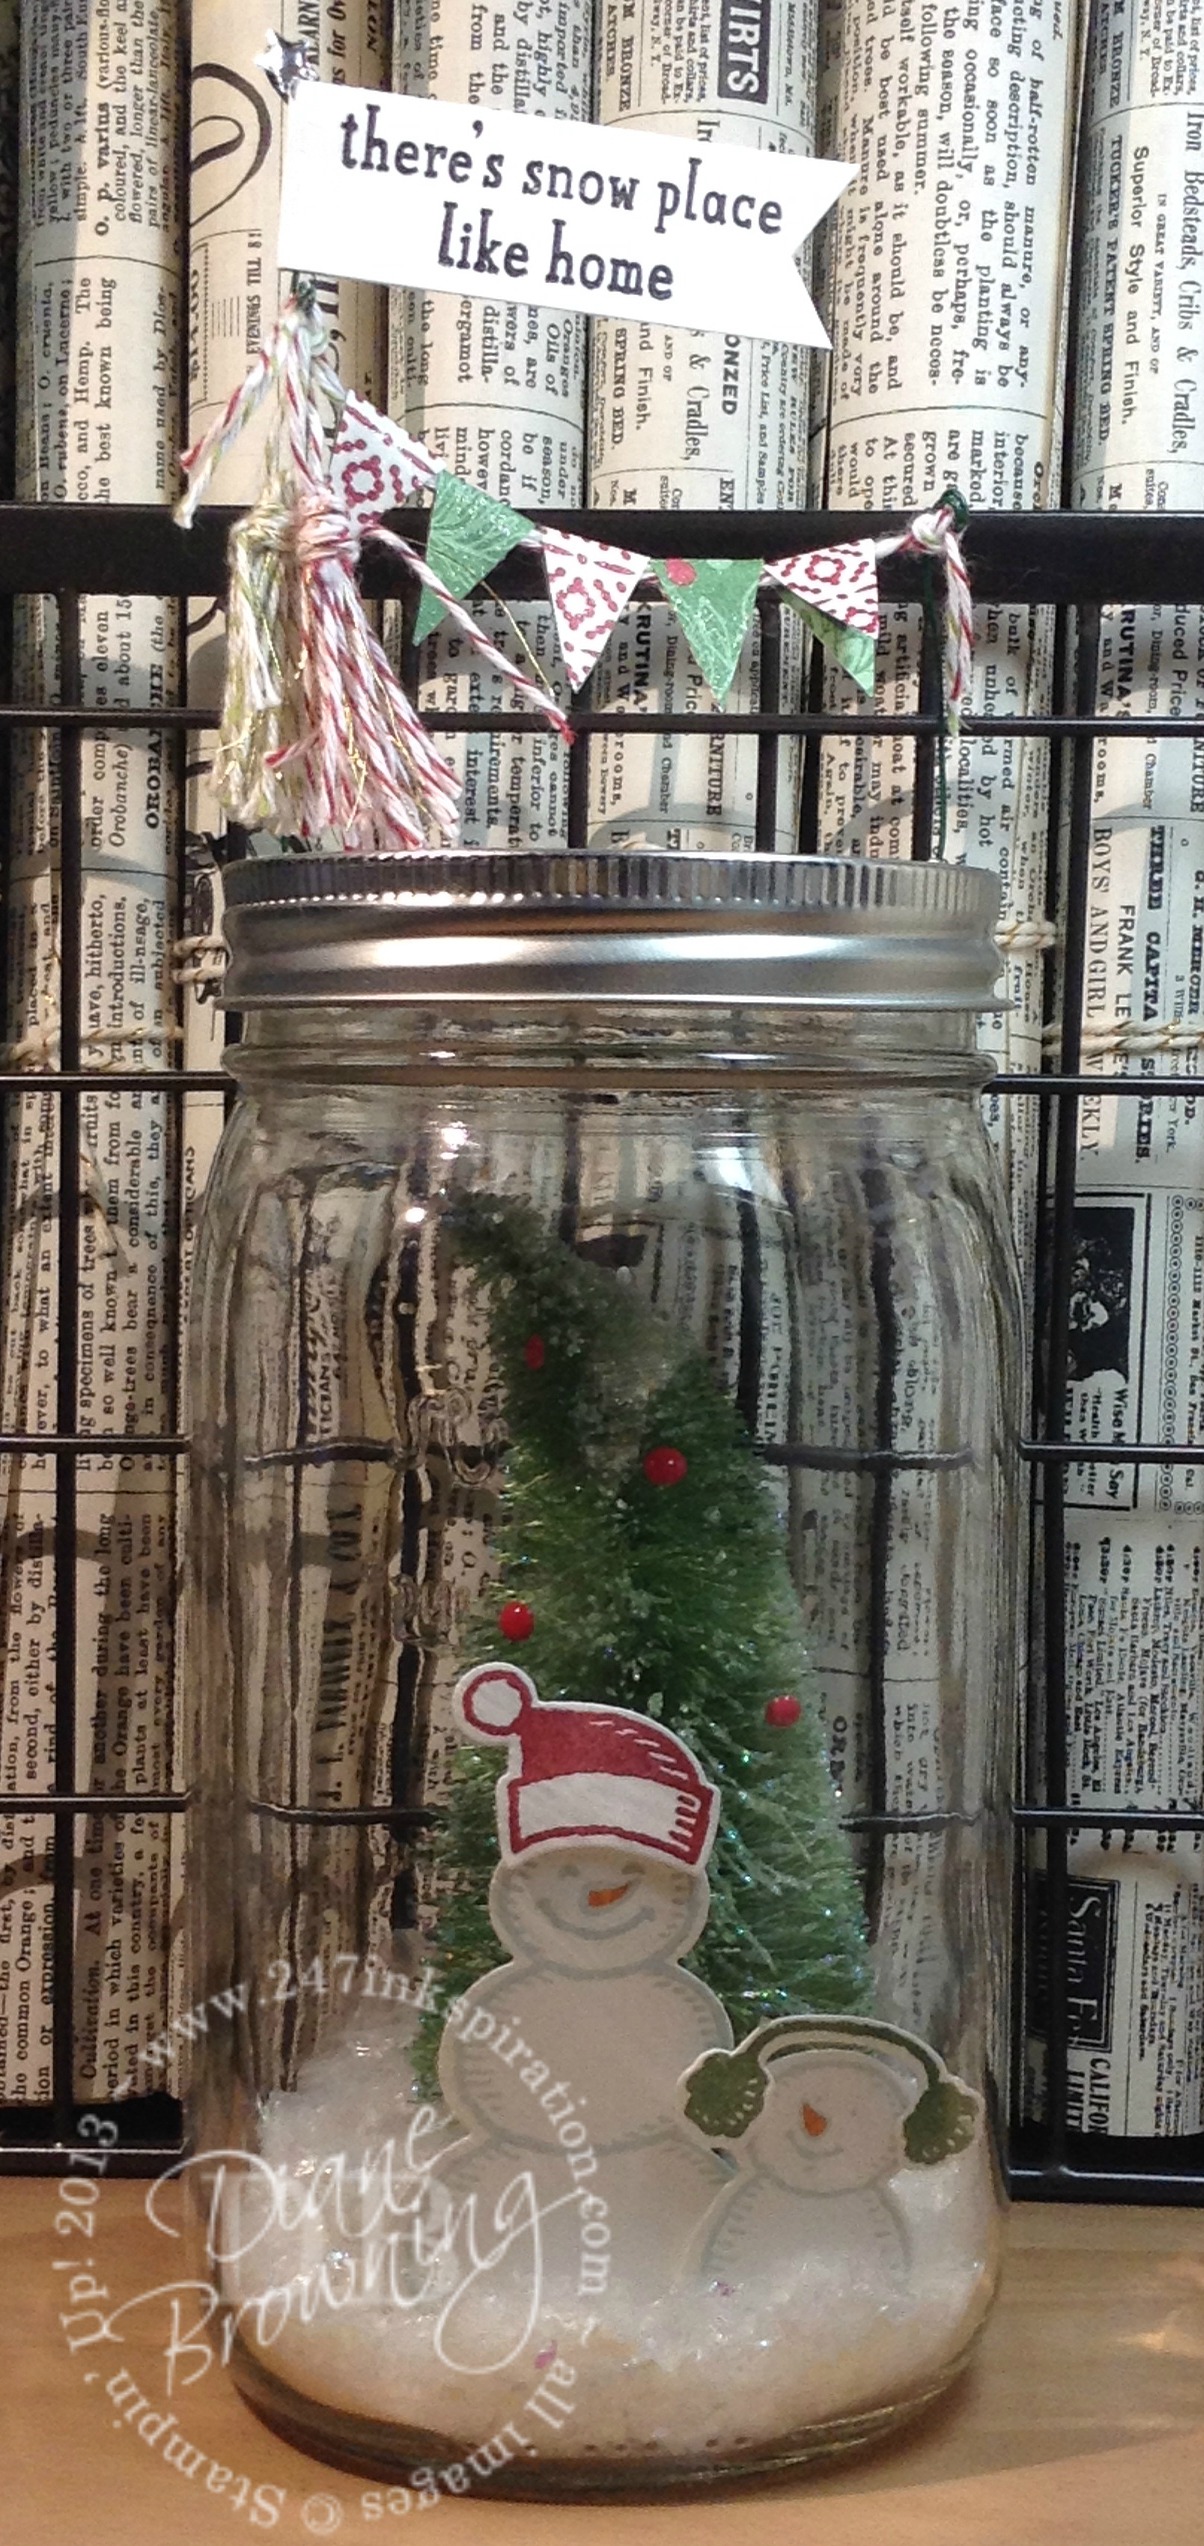 This adorable Christmas in a Jar makes me smile! I’m not quite ready to start the Christmas countdown, but I do feel pretty good about getting one project done. Don’t forget to check back July 1st for some additional details about the Christmas in a Jar Tutorial. Speaking of jars… what is the most unusual thing you’ve put in a mason jar? I can’t wait to hear what you’ve done!


That’s so cute! Who can I get to make it for me? ? Hint hint.
Hmmmmm….I’m sure we can figure something out 🙂