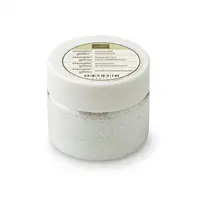
One of the brand new products in the Annual Catalog is Embossing Paste. If you ever want to try something so completely different from standard card making than this is it. Embossing Paste is the perfect medium to add depth and dimension to any art project or card. Embossing Paste is generally used for Mixed Media projects. You’re probably asking yourself, what is Mixed Media? Mixed Media is the combining of a variety of media to make art. Media can be anything like paint, ink, paper, pastes, glitter, and more – a variety.
I tend to pick up art supplies when they are on sale so I generally have a stash I can work with at any time. A few weeks ago, I found some 8×8″ canvases half price at a local store so I purchased a few. I didn’t use them for the original project that I was going to make, but kept them anyway since they were half price.
I knew I wanted to make something with the Embossing Paste on the canvas, but I wasn’t quite sure what. I love that with art that you can literally start with no plan and just see where it takes you. I knew the white Embossing Paste on a white canvas wasn’t going to be very exciting so out came my reinkers. On my silicon sheet, I put small globs of Embossing Paste in separate piles, then added a few drops of different reinker colors to each of the globs. You don’t need much reinker at all, 1-2 drops is plenty for a small glob.
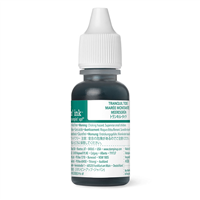
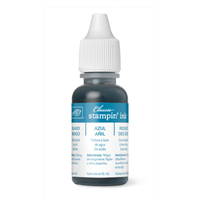
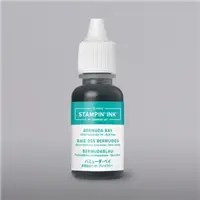
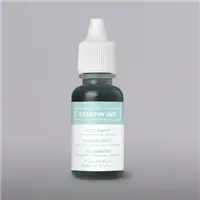
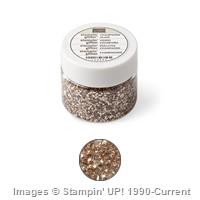
Before I committed Paste to canvas, I had to come up with a rough plan on what I wanted this to look like. I decided to go with the lightest color water on the bottom just above the sand to the darker color on top just below the surf. My thought process was that when I looked up pictures of tropical waters, it always looks so clear and bright down below. But when you’re up on the boat, looking down, the water is darker near the surface. From the top down, the colors are Embossing Paste (white), Tranquil Tide, Island Indigo, Bermuda Bay, Pool Party, and Crumb Cake (sand). To get the sandy base at the bottom, I mixed in some of our retired Champagne Glass Glitter. It’s hard to see in the picture, but my surf at the top sparkles. I used a dauber and the fine-tip glue to add Dazzling Diamonds to the white paste. Using a sponge I colored the top of the canvas in Soft Sky to remove the starkness of the white canvas. It doesn’t really look blue, but it’s definitely not the bright white that it was originally. I made the fishing net in the bottom right corner from our Linen Thread. I cut off lengths and knotted them every inch or so. I ended up with way more netting than I needed so I cut off the excess and I may use it on another project.
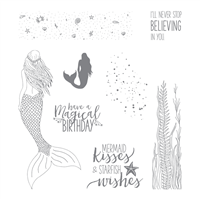
When working with the Embossing Paste, you do need to work quickly since it starts drying in just minutes. Using my palette knifes, I smeared the layers of colored paste onto the canvas. You’ll notice that it’s not an even, smooth layer. This was intentional to give the water the look and feel of movement. The colors start to blend slightly at each of the layers, just as if you were in the water yourself. You see that it’s clear at the bottom and it’s darker on top but you don’t notice the transitions in the middle as much. The mermaid is stamped and hand cut out. I colored her using our ink pads and a blender pen. The scales on her fin are colored in one at a time, some in Tranquil Tide and some in Island Indigo. Then using a dauber, I dabbed on some the fine-tip glue and added Dazzling Diamonds to give it that shimmery look. The mermaid’s arms and back are colored in using a very light Blushing Bride.
This was my first project using our Embossing Paste and I’ll definitely be buying more of it in the future. A couple things about the Embossing Paste…
- The Paste does settle in shipping so it has the appearance that the jar is only 3/4ths full when you open it. This is normal.
- The Paste comes in a sizable jar so it has a wide enough opening that you can fit your palette knives into the jar.
- The Paste dries very quickly. Don’t leave the cap off your jar too long or it will start to harden.
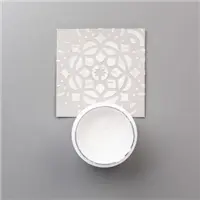
- When using the Paste with masks, clean your mask immediately or you will have a tough time cleaning it. Same with your palette knives. You want to clean them right away too.
- If you have some left over paste that you colored or added glitter to, you can try to salvage it in a small container with a screw top lid or another airtight container.
- When adding reinker to the Paste, less is more. Depending on how much Paste you’re coloring, only add 1-2 drops of reinker. If you need more color, you can add another drop or two.
Don’t be afraid to try something new. The Embossing Paste is relatively inexpensive and it sure is fun to use. I’ll be sharing some more projects using it in the coming weeks. Don’t forget to come back and check them out.
For the month of July, Stampin Up is offering two incredible specials: Bonus Days and Christmas In July. Don’t worry, you can take advantage of both of these awesome deals!

Has your wish list grown since the new catalog came out? Then treat yourself to Bonus Days: for every $50 you spend July 1–31 (before shipping and tax), you’ll get a $5 Bonus Days coupon that you can use August 1–31. There is no limit to how many coupons you can earn. Spend $100, get two coupons. Spend $150, get three coupons and Host Benefits too!
 Ho, ho, ho! Our Christmas in July promotion makes it easier than ever to sign up to be a demonstrator! Just purchase your Starter Kit by July 31 and you will receive a FREE Essentials Gift Pack including Paper Snips, SNAIL Adhesive, Grid Paper, two D Blocks, and a Bone Folder. That’s an added value of $52! And since as a new demonstrator you can get your hands on new products before anyone else, we will include the Carols of Christmas Stamp Set from the holiday catalog for FREE ($20 Value)! The Starter Kit costs $99 (including shipping), and with this promo, you will get a total of $197 in products for only $99. This deal is too good to pass up. Sign up now and join my team.


LOVE this! I think you should teach this as a class!
I hadn’t thought of that… I’ll have to price it out. It actually dries pretty quickly.
You did an amazing job with that!!
Thanks Poli! I wish the sparkle showed up better in the photos. It looks amazing.