I’ve had a number of messages about how I made the Mini Album I shared a few weeks ago. This type of chipboard mini album is actually pretty easy to put together. Once you’ve figured out the mechanics of one album, you can make this in any size and shape you want.
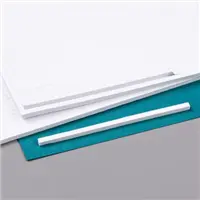
For this album, I used two 6×6″ chipboard pieces and a 1×6″ chipboard piece for the center spine. You’ll need four pieces of card stock cut to 6×6″ and one piece cut to 2×6″. The 2×6″ piece is scored length-wise at .5″ and 1.5″. This leaves a 1″ gutter in the middle with .5″ on each size.
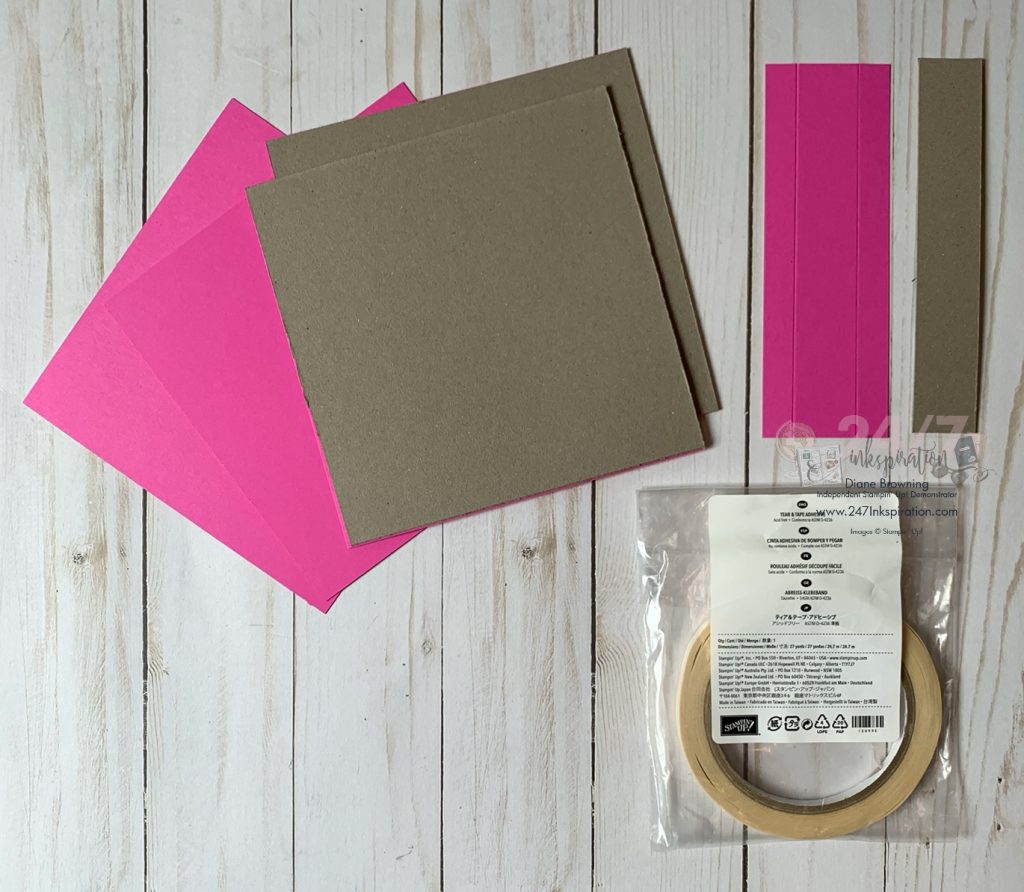
For an album like this, you’ll want to use a stronger adhesive, like our Tear & Tape. You’ll adhere a piece of the 6×6″ card stock to each side of the chipboard. Then adhere the 1×6″ piece of chipboard to the center of the 2×6″ piece of card stock. Add a strip of tear & tape to the outside edge of the 2×6″ piece of card stock.
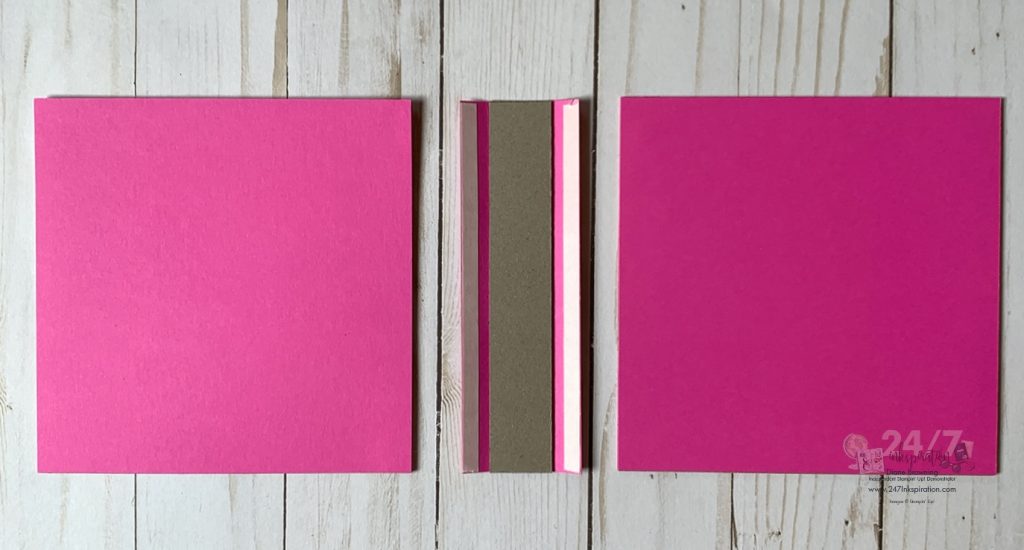
Then attach the 6×6″ pieces to the center piece. Leave a small gap between the outside pieces and the center piece of chipboard. This will allow you to close the album. You’ll want to add another piece of 1×6″ piece of card stock to the inside piece of the 1×6″ piece of chipboard.
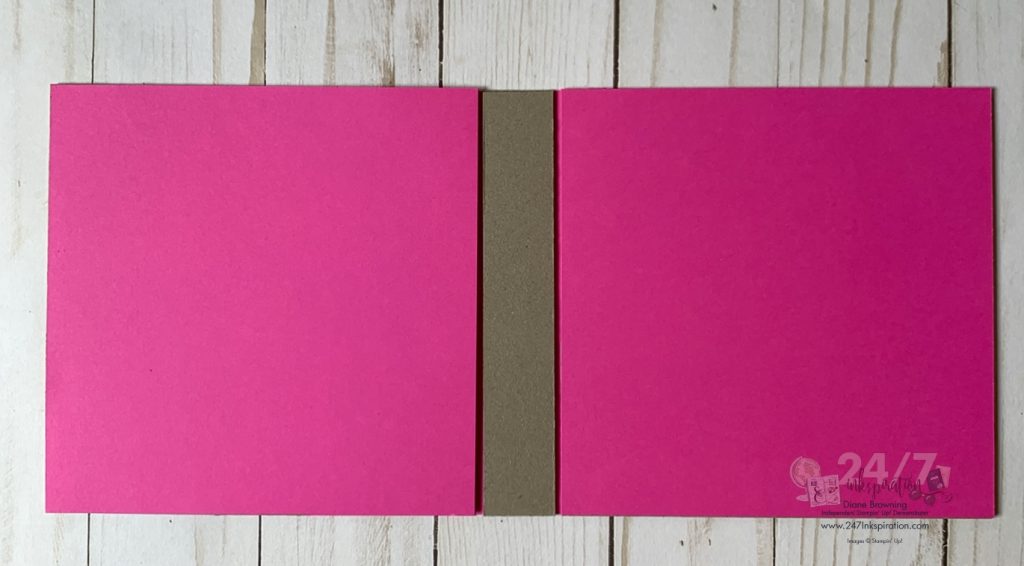
Here’s what the album looks like closed. You can see the center section overlaps the front cover and the back cover of the album. Once you decorate the front cover, you will hardly notice the seam on the front.
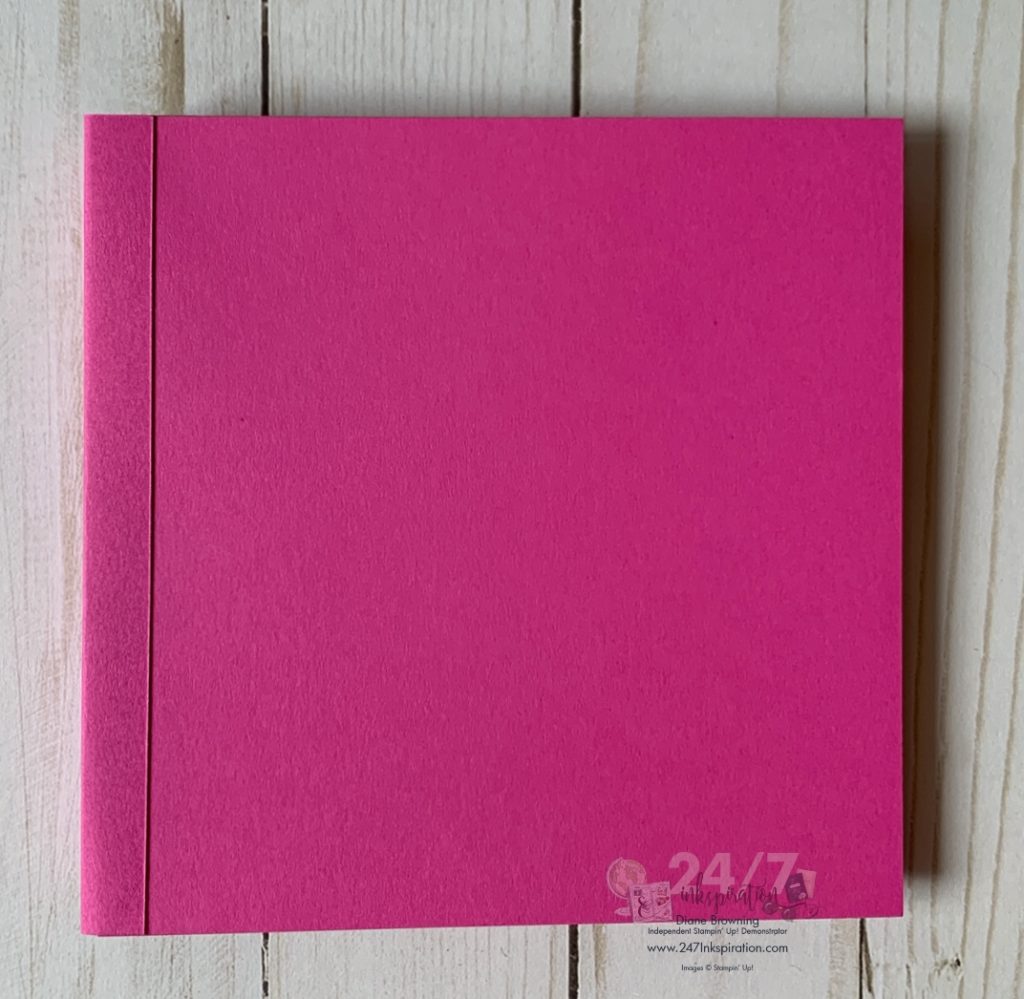
And once again, here is what the final album looks like.
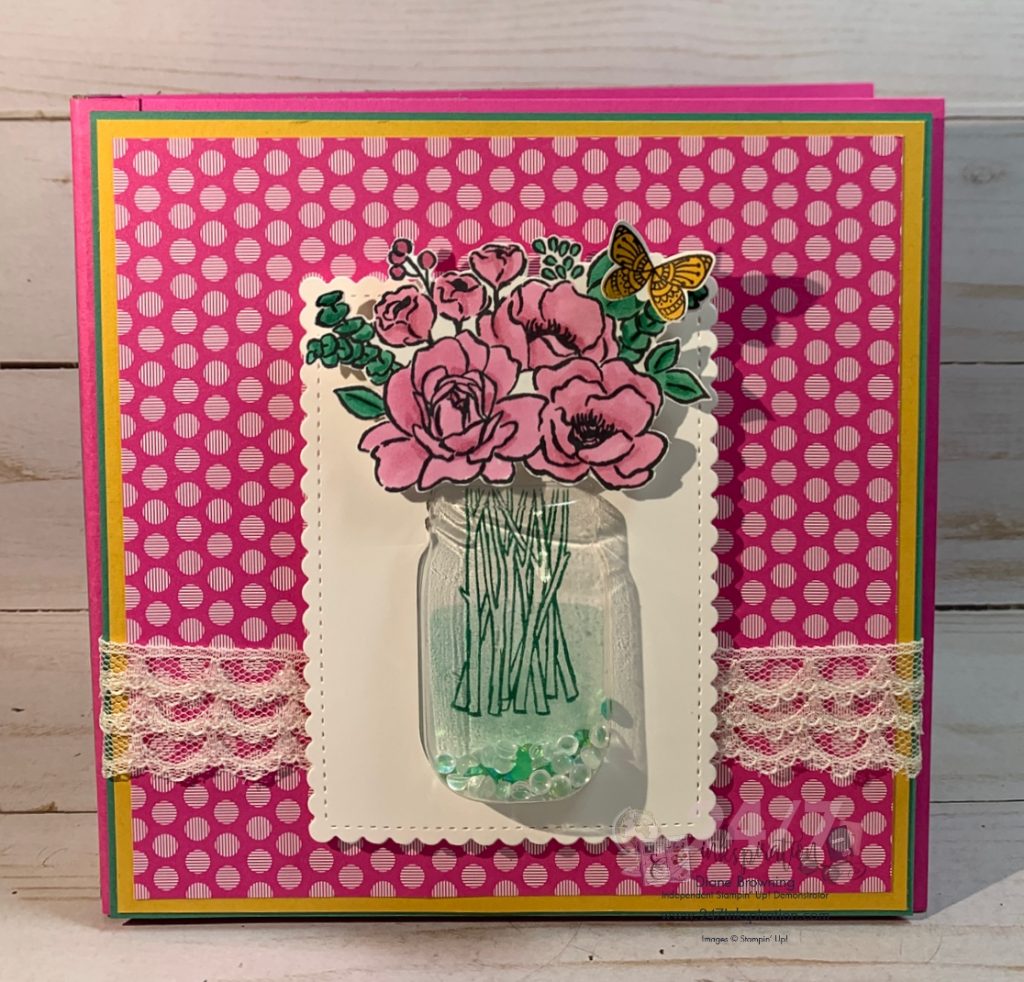
This kind of album is perfect for when you want something specific. You can make this longer or wider by adjusting the size of your chipboard. Keep in mind your gutter piece (1×6″ above), is how wide your album will be. If you cut the chipboard piece 2×6″, this album would be 2″ wide. Just remember to make the card stock for the center to be 1″ wider than the chipboard piece.
As always, if you ever have questions about a project you can definitely contact me or comment on a post. I’m always happy to help with your crafty needs!












Leave a Reply