One of the best kits in recent months is the Haunted House kit. This kit makes an adorable 3D haunted house. Here’s a picture of the kit from the Stampin Up website. The kit looks great assembled just as the directions indicate.
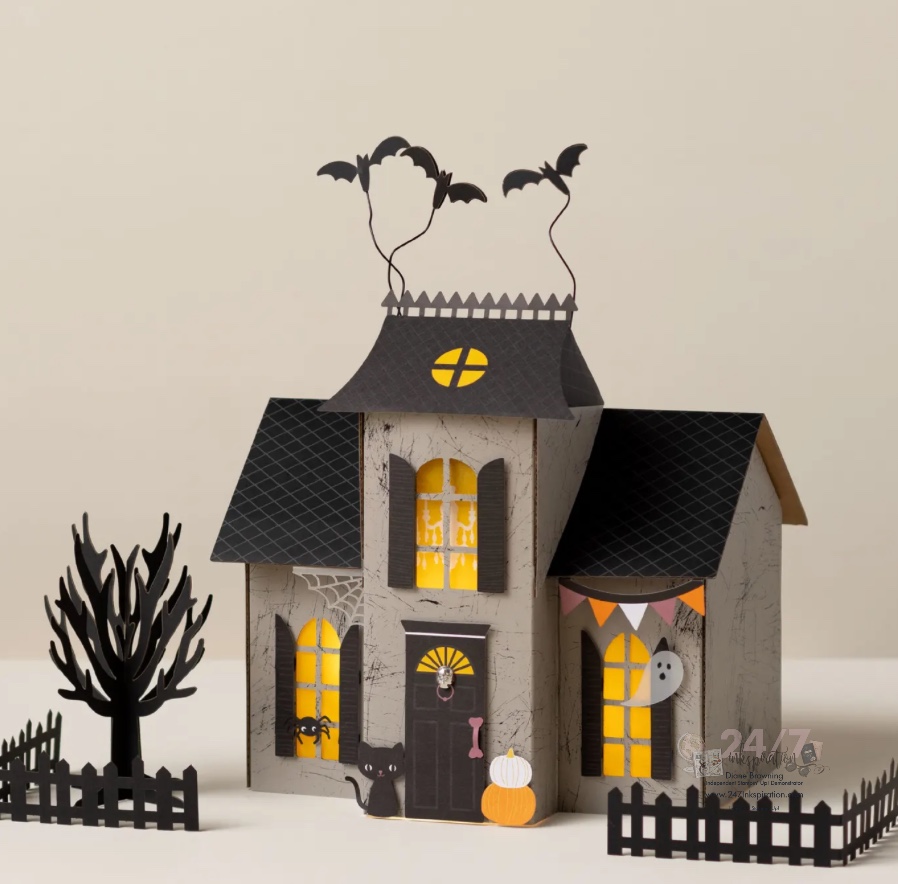
But… what if you did something a bit different with it? What could I transform this cute, simple house into?
I made a base out of foam board and then covered it with air dry clay. Once the clay was dry, I used a hot glue gun to glue the house to the clay. Then I painted the clay with two different green colors.
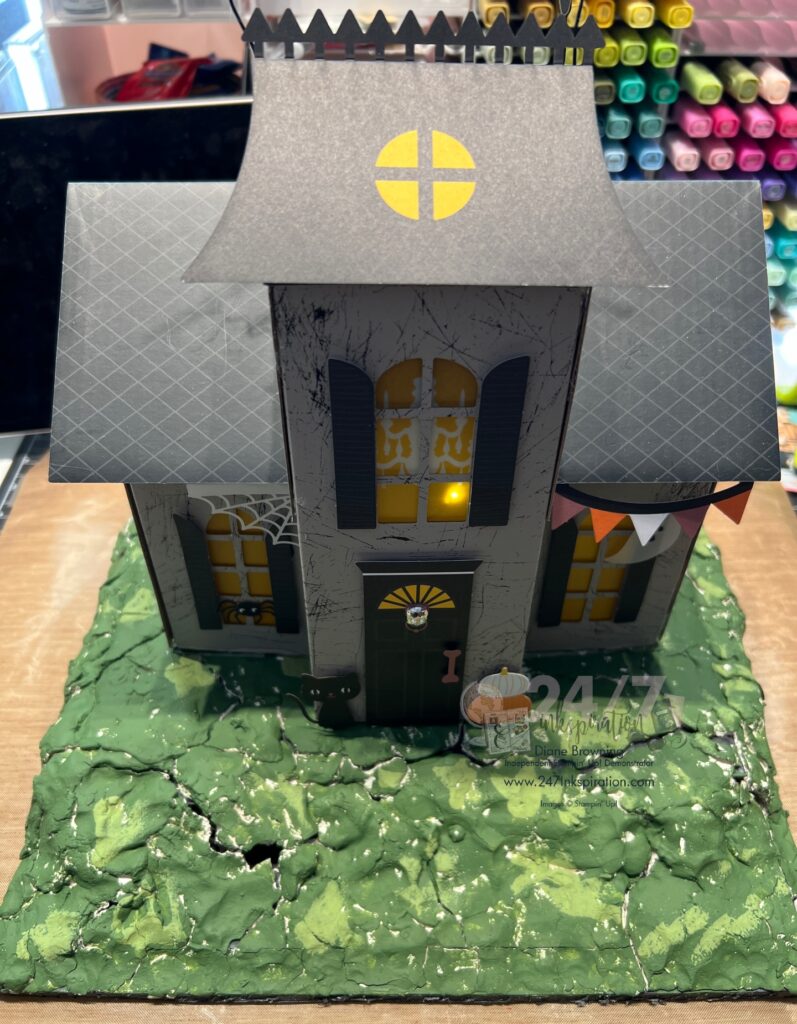
Then I added some green moss around the house, covering up the clay. Since I’d painted the white clay green, I didn’t have to worry to much about any gaps in the moss. I also glued the tree in place along with some pumpkins.
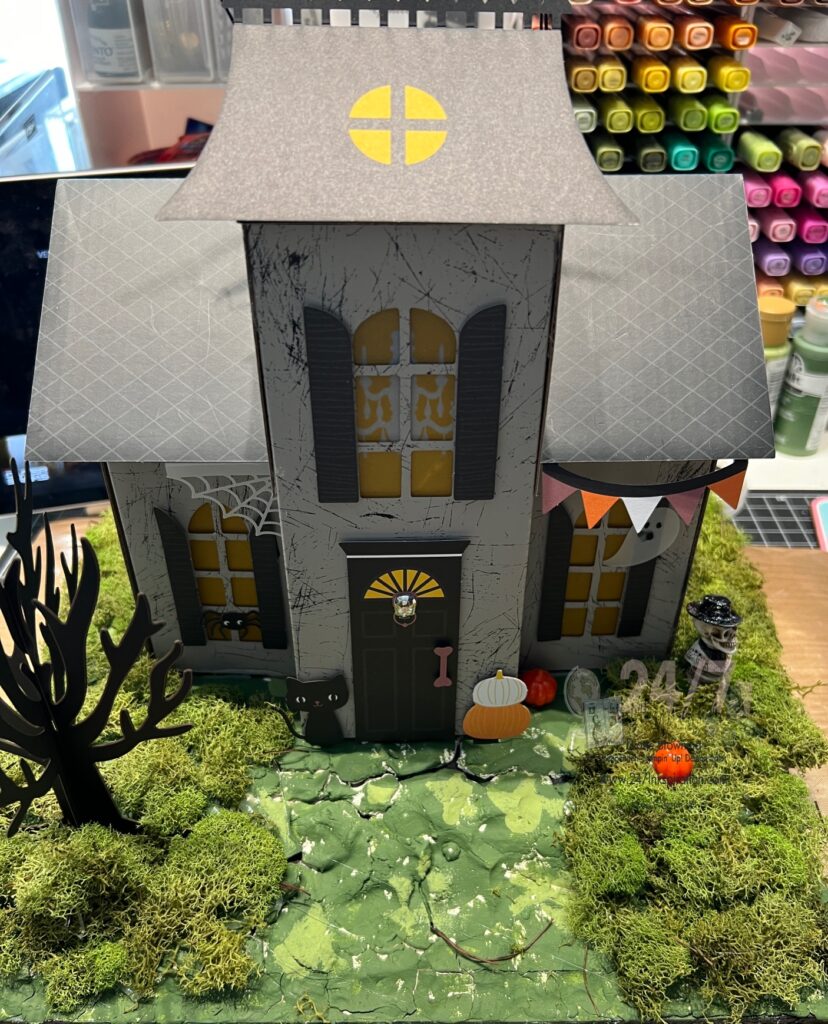
Here’s what the house looks like complete with the base, the moss, fencing, and walkway.
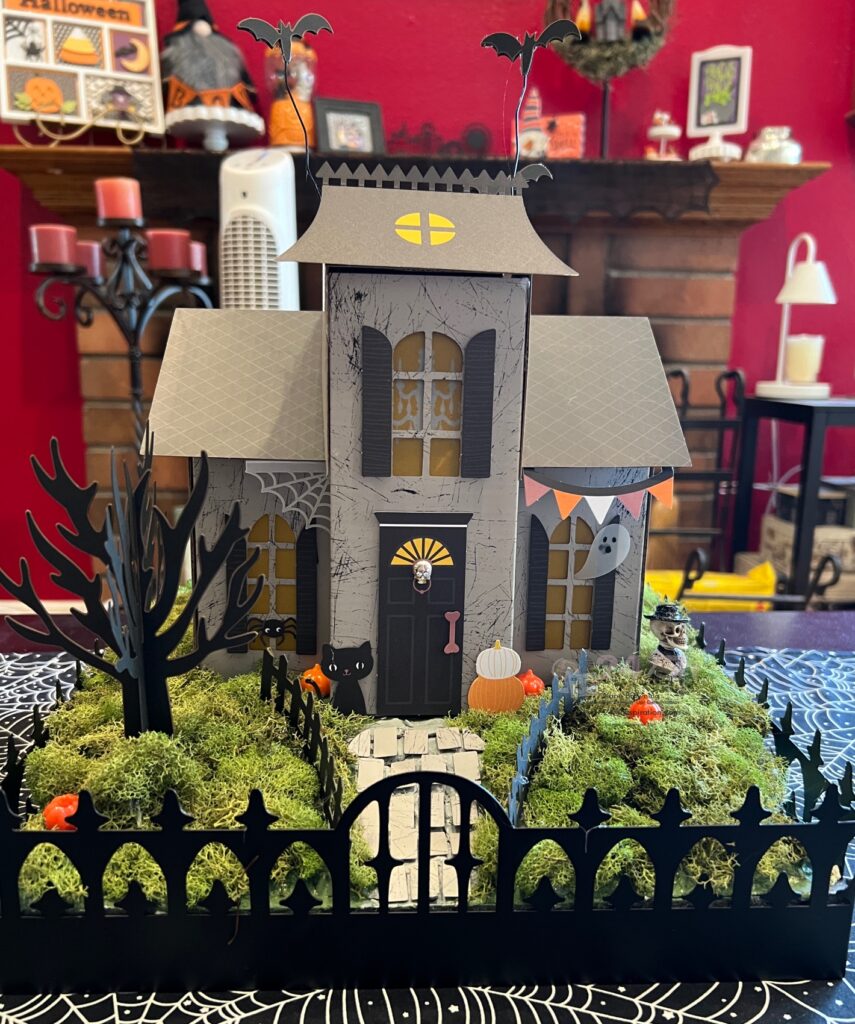
For the walkway, I painted that part of the clay gray. Then I used all those small pieces I punched out of the windows and glued them down as paving stones.
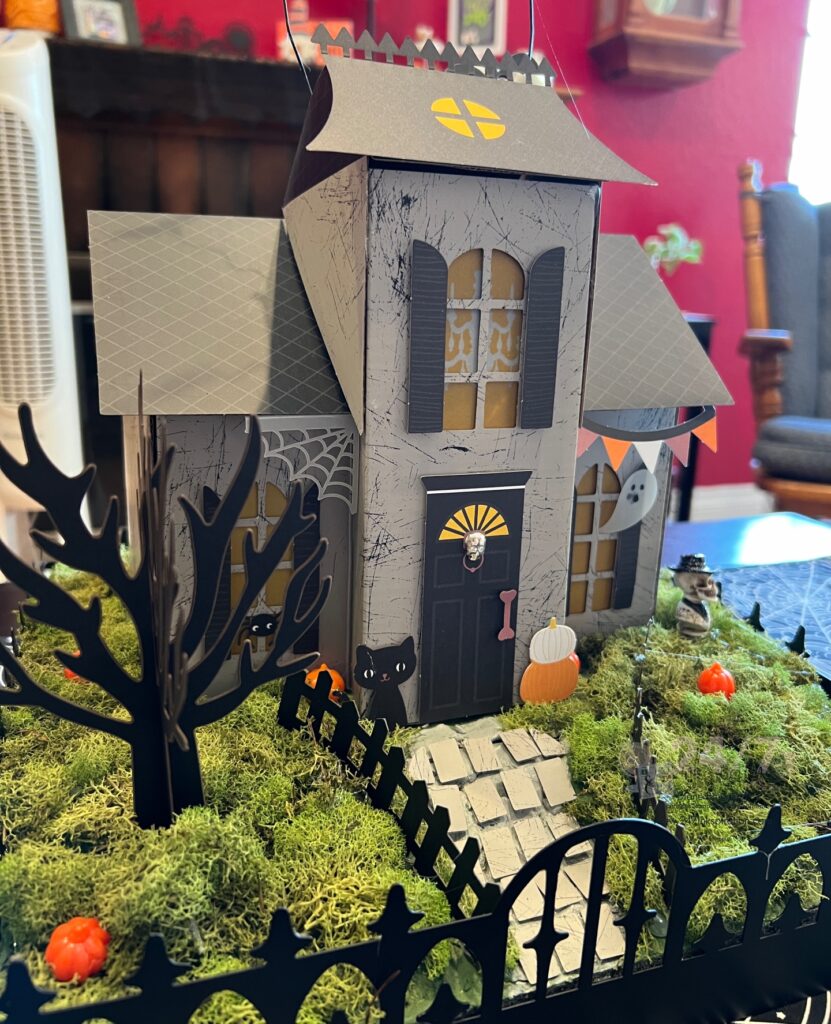
And here’s the best part.. THE HOUSE LIGHTS UP!! I can’t believe how amazing this turned out.
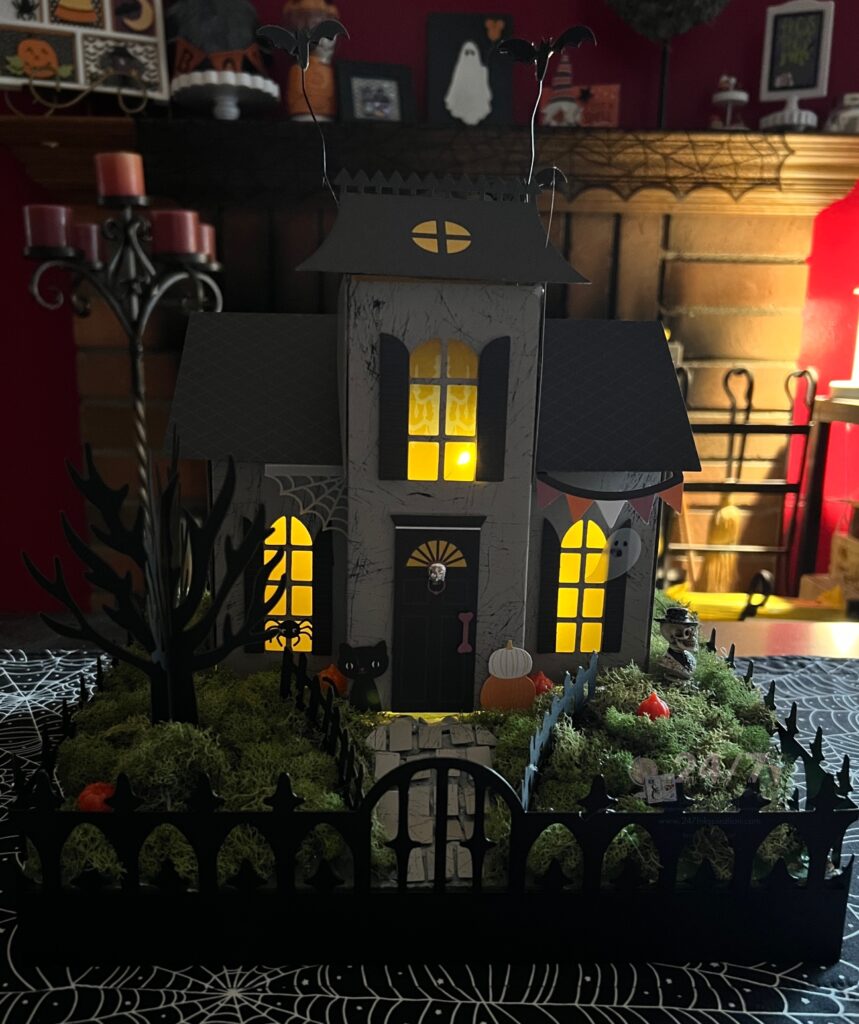
I bought the lights at a local craft store and I glued them on the inside of the house near the windows so you can definitely see the warm lights inside. The lights come with an on/off switch and a battery pack. I have that hidden on the back side of the house in the moss. I’ll be able to change out the batteries when needed.
Sadly, the Haunted House kit has been out of stock lately. It’s due to return very soon. I wavered on whether or not to share this project, but knowing this kit is going to be back in stock soon, I couldn’t resist. And, I was thinking I might make a Christmas version of this kit. You’ll just have to wait and see what I come up with.
Whether you make our kits just as they are designed or make them your own, the choice is yours. This Thursday is the last day of our kit sale. Click the Shop button on the right to take advantage of the sale before it ends. My online store is open 24/7.




Leave a Reply