Okay, here is the inside scoop on how to be a Stampin Up Demonstrator.
- Sign up!
- Go to a Stampin Up Event and see lots of brand new products that you can’t wait to have.
- Go home and agonize over which things to order since there is a limited time to decide and a limited selection for the Event’s pre-order.
- Miss the three day window for the Event’s pre-order period because you spent so much time debating what to order. Doh! (Yes, I really did this once.)
- Wait for the general pre-order to open up and then decide what you must have immediately and what can wait until later. Because you know you’re going to get all of it anyway. Eventually.
- Place order right away. Receive box. Start crafting.
- Check out the Demonstrator website to see what everyone else is making. Then realize you didn’t order that one really cute thing everyone else seems to have already. Ugh.
- Place another order. Don’t worry, you’re getting it at a discount because you’re a Demonstrator. And now you have something else to share with your friends and customers.
So yes, I really did miss a pre-order one time after a Stampin Up OnStage Event. I had my order all ready but just didn’t get it completed on time. Guess when I realized my goof? The day after the pre-order window closed. Oops. What can I say? Sometimes life happens and gets in the way of ordering more stamps and inks. 🙂
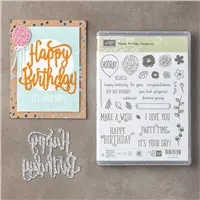
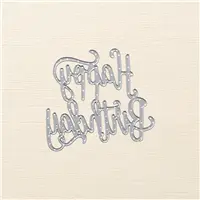
So, today’s project uses the brand new Happy Birthday die. Honestly, I kind of waffled on whether or not to order this die. It is somewhat limited on what you can do with it. The only things you can make with this are: “happy”, “birthday”, or “happy birthday”. It’s not like I can turn this into a “Merry Christmas” with a little bit of creative paper piecing. But when I saw all the fabulous cards with it, I decided to get it anyway.
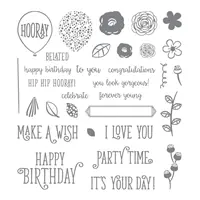
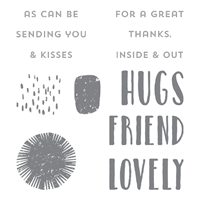
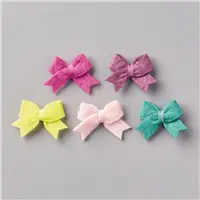
Oh my goodness! I am in love with this brand new Happy Birthday die. It is the perfect size for the front of a card. Big but not too big. A pretty font, and still legible. And, the letters are just wide enough that you can use a bit of a dimensional to give it that 3D look. I did cut my dimensional into narrow strips to do this.  Those pink circles are from the Lovely Inside & Out stamp set. They make an awesome background. And check out the Bitty Bows. They come pre-tied with adhesive on the back. Normally I would hoard something this cute. But, I have been using these like crazy. Bows for everyone!
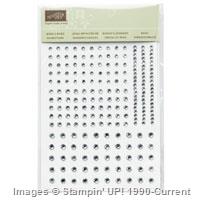
I did use the retired rhinestones on this card. I don’t have the new ones yet but they are on the way. The new ones look to be fairly close in size to the old ones. I’m just sitting here patiently waiting for my box of new Catalog goodies to appear on my doorstep. I keep checking to see if I have an update from UPS, but not yet. Don’t mind me while I sit here and stalk the UPS website.
Now that you know How To Be A Demonstrator, what are you waiting for? Our Team is always looking to make new friends. Contact me to find out how to attend one of our Downline Meetings.



Leave a Reply