Before I jump into today’s project, I need to tell you about Stampin Up’s one day stamp sale. There are more than 50 stamp sets that are 15% off today only. Sale ends at 10:50 pm PST tonight.
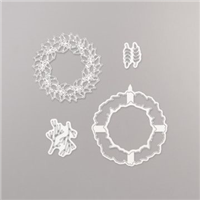
I’ve been dying to share more Holiday and Winter projects, but I still have a couple Fall projects that I haven’t had a chance to share yet so I’ll get to those first. One of the décor items I have hanging in my home is a small wreath. I have several of 6” wreaths that I’ve decorated for different seasons. I get them out each year. When Stampin Up released the new wreath and die stamp set this year, I knew I needed the wreath dies in my collection.
Today’s project is a card I made with the wreath dies. This card is created with the baby wipe technique to color the wreaths. This technique is super easy, even for beginning crafters.

Here’s the “how-to” for this project:
- You’ll need one or two baby wipes for this technique. Lay them flat on something that can be tossed, like foil or a paper plate. I place the baby wipes at one end of the foil, leaving the other half of the foil empty. I want to be able to fold the empty half of the foil over the top of the baby wipes.
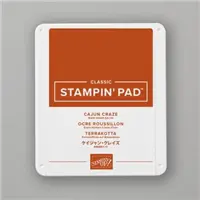
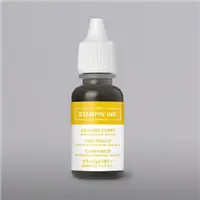
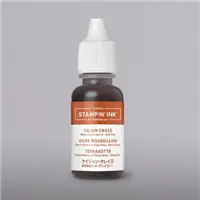
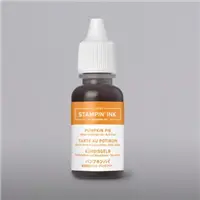
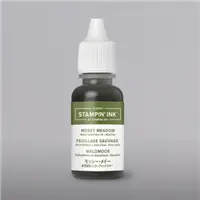
- Squirt a few drops of reinker on the baby wipes. I used several different colors: Crushed Curry, Pumpkin Pie, Cajun Craze, and Mossy Meadow. I use more ink from the two lighter colors (Curry and Pumpkin) and less ink from the two darker colors (Cajun and Meadow).
- Place your die cut face down on top of the baby wipe where the ink is.
- Fold the other half of the foil over the top of the die cut. Press down and rub.
- Peel back the foil and check to make sure you have even coverage. If you didn’t get enough ink, you can lay your wreath back on the baby wipe and apply more ink.
- Set aside your die cut pieces to dry.
- Once everything is dry, assemble your card.
 For this card, I used four layers of wreath dies. You can see that the wreaths have some uneven coloring. This is intentional to be like a real leaves. Each layer of the wreath has a dimensional to give it the added depth. This is likely too tall to mail, given all the layers of dimensionals used, but would be lovely on a gift tag or packaging too.
As we race toward November, are you working on your Holiday crafts yet? If not, it’s not too late to start. You still have time to get the supplies you need to craft your Holiday. Just click on the Order Online button on the right and it will take you right to my shop.
Current Specials
To give you more of what you love this holiday season, we are offering back-to-back coordinating kits, one with Christmas cards and the other with Christmas tags. Both kits make it easy for you to add a handmade, personal touch to your holiday gift-giving—without a lot of fuss. It’s Christmas made easy with Paper Pumpkin! It’s too late to get October’s kit, but you still have time to sign up for November’s kit. November’s kit makes 24 holiday-themed gift tags of 4 various sizes and designs. Coordinating colors: Early Espresso, Pool Party, Poppy Parade, and Shaded Spruce. You can sign up for October’s kit starting now. If you already have an ongoing subscription, this will ship automatically.





Leave a Reply