If you read Friday’s post here, I am still inching towards my goal of promoting with Stampin Up by the end of this month, which is tomorrow. I am sooo close right now, just need a few more purchases to reach my goal. I want to thank everyone that has already made purchases over the last year. Your support means so much to me.
If you need anything – adhesive, paper, stamps, ink, etc – let me know. You can place an online order at my website www.dianebrowning.stampinup.net or just click the Order Online button on the right. You can also contact me if you need help placing an order. No order is too small, and every little bit helps me get closer. As a special treat, everyone that places an order with me now through February 28th, will get a small thank you gift from me.
Last Thursday was our monthly Downline Meeting. Since I was hosting, it was my turn to come up with a make and take project. I usually try to have a card that tries a new technique or a fancy fold. This time I came up with a card that’s actually a gift card holder.
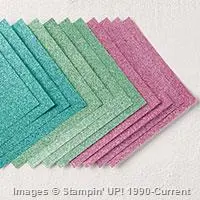
Usually, I make the outside of my cards first, then decorate the inside. This time, you’ll want to create the inside portion first so you have the correct measurements. Start by scoring your card base in half as usual. Then the left side will be scored 1.5″ in. That portion will fold inside the card. Adhere the inside flap across the top and the bottom. This will give you your pocket to hold a gift card. The Whisper White card stock is adhered to the inside and the strip of pattern paper is added to the right side. I stamped the sentiment in the center of the Whisper White portion. Once the inside is complete, you can cut the pattern paper for the outside of the card. The new Cupcakes and Carousels paper has these amazing grunge textures and colors. I didn’t really notice the cupcakes in the sheet I’d selected until after I’d already cut everything for the card. Then of course, once I noticed them, I could help but see them every time I looked at the paper. To help cover the cupcakes, I stamped the dots across the top and the bottom of the pattern paper.
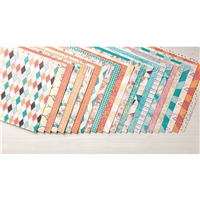
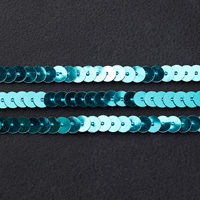
  The dragonfly is die cut from Basic Black card stock and the new Bermuda Bay Glimmer paper. The Bermuda Bay Glimmer paper is available as a free item for Sale-abration. The dragonfly wing on the right covers the bit of the sentiment that peeks out from the inside of the card. The sequins are glued down using my fine-tip glue pen.
I needed a quick thank you this weekend and recreated a similar look in a match book size. The Bermuda Bay Glimmer paper makes the dragonfly look stunning. 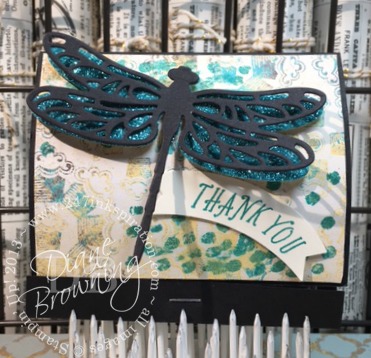
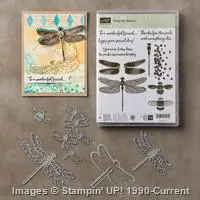
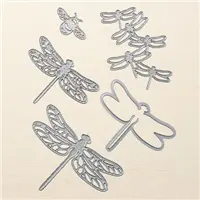
I’m working on a few more things using the Dragonfly Dreams stamp set and coordinating Detailed Dragonfly thinlets set. This set is amazing. I’ve got my fingers crossed that this set will be carrying forward to the next catalog because these dies are just so much fun to work with.
Don’t forget Sale-abration is going on right now. For every $50 purchase (pre-tax and shipping), you can pick one free Sale-abration item. What a deal! I don’t know about you, but I’m always looking for a good deal which is why I signed up to be a Demonstrator. If you always want to get your craft supplies at a discount, we need to talk.


Leave a Reply