So I have a little obsession that I have not shared with you yet… it’s my planner. If you’re a “planner girl”, you know exactly what I’m talking about. If you’re not, it’s a whole new crafting obsession to get addicted to. What it boils down to is decorating your planner with stamps, stickers, clips, washi tape, and anything else that will fit in your planner. If you google “planner ideas”, there are thousands of images that pop-up. There is so much information, that it is almost overwhelming. Unfortunately, Stampin Up doesn’t have planner supplies yet. No, I don’t have any inside information that planner stuff is coming, but SU usually does a good job following current trends and planners are hot right now. I’ve got my fingers crossed that planner supplies will be coming to a Catalog soon.
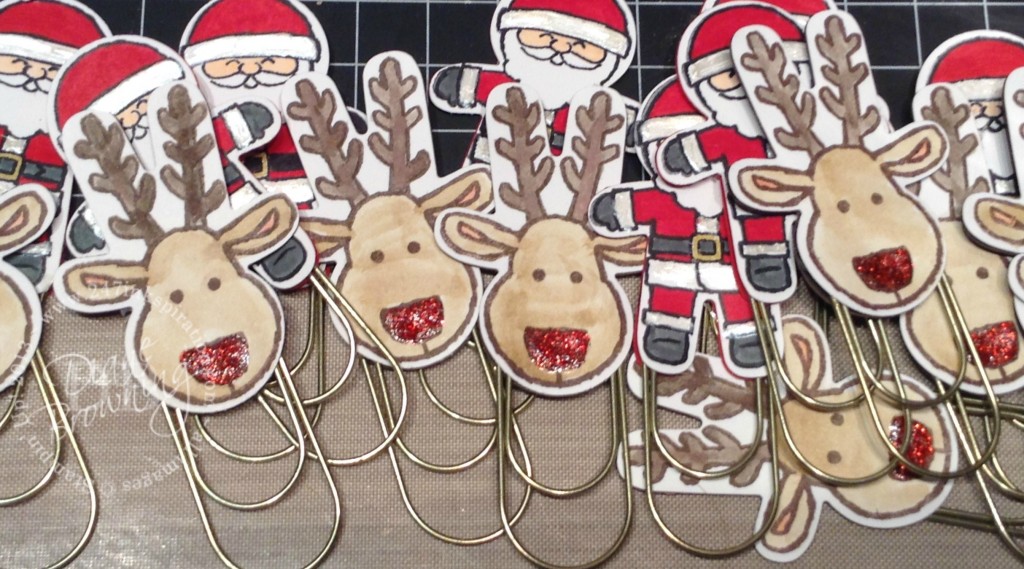
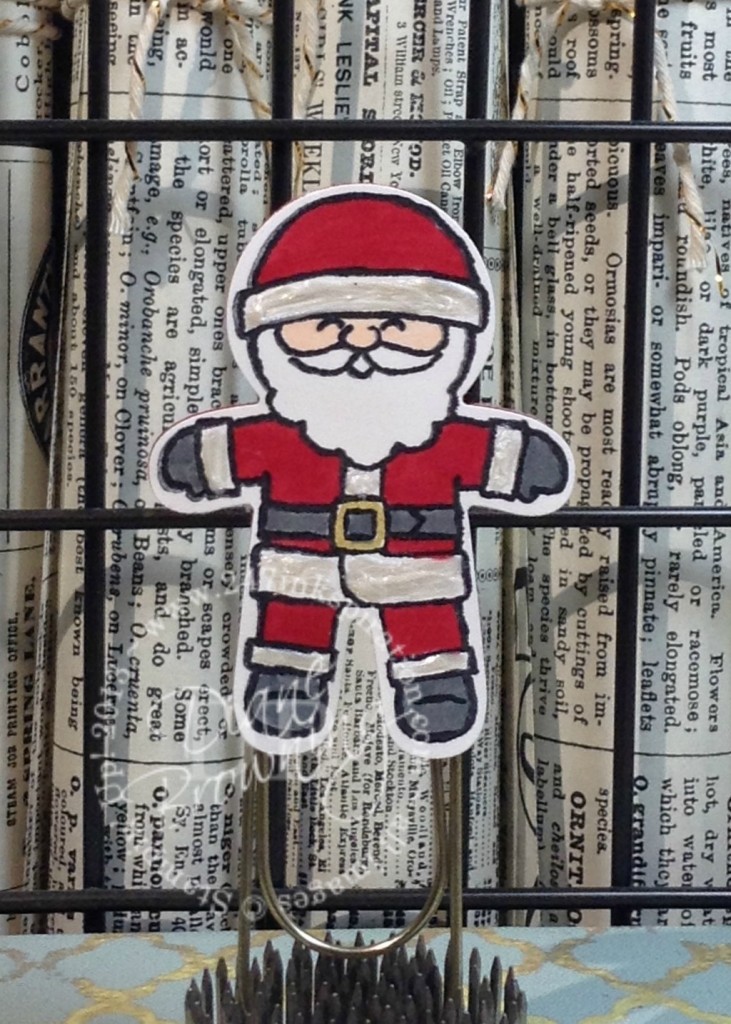
Since Stampin Up doesn’t have specific planner supplies, I made my own. Actually, I made dozens of these for an upcoming Holiday Boutique and they were so easy to make. The giant paperclips came from my favorite store with the dollar bins. I specifically chose just the Santa and Reindeer images because I suspect those will be popular.
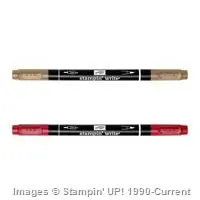
Each Santa is colored with markers (Real Red, Basic Gray). The belt buckle is our Gold Wink of Stella pens. I used Copic marker E01 Pink Flamingo to color Santa’s face. The cuffs and trim on the Santa were colored using Nuvo in Ivory Seashell (non-Stampin Up product). Nuvo is kind of like that old puffy paint that used to be popular in the 1990s, but it works so much better. The tip is very fine and you can color in a really small space. You can find it online or in local craft stores.
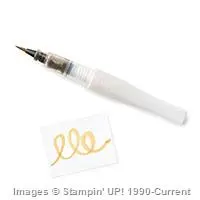
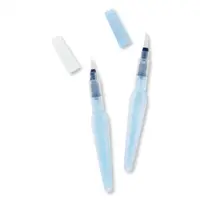
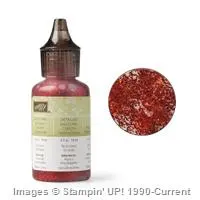
Each Reindeer is water-colored with an Aqua Painter. The nose was colored in using Nuvo in Ruby Slippers. Stampin Up used to have Dazzling Details in Cherry Cobbler, but I have used up my entire stash of it and had to find something else.

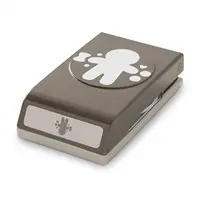
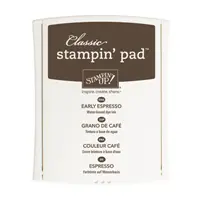
Once I colored in all the characters, I punched out enough Real Red shapes for the back side of the Santa paperclips and Early Espresso for the reindeer. Using my hot glue gun, I attached the paperclips to the backing. And then I attached the front side, pressing firmly to ensure it was glued together completely.
 And here are some of the finished clips! Using my hot glue gun instead of a different adhesive makes all the difference. The hot glue holds everything together really well and they definitely won’t fall apart. I can’t wait to use them in my calendar to mark the spot for December.
Here’s a tip when stamping and punching these characters. Be sure to leave enough room around the edges to allow for all the little extra stuff that gets punched with the character. There’s a bow, a heart, and some circles that surround the character. If you stamp them too close together, you’ll end up punching out part of your character with a bow or a circle. I found the best way to do a bunch of these was to use a vertical strip about 2.25″ wide and stamp vertically, one on top of the other. Stamping them horizontally wasted too much paper.
Don’t forget…

The Paper Pumpkin BOGO special is available only through October 10th. You pay for the first month and the second month is free when you sign up for an ongoing subscription. If you sign up now, your first kit will be October’s, and you will get November free. Just click the link on the left and it will take you to my Paper Pumpkin website to register for your subscription.

Leave a Reply