First, let me apologize for no “Five Minute Friday” today. I’ll be back to those next Friday. Instead, I have a couple new things to share. Starting today, I’m launching a couple new programs: a 24-7 Ink Rewards, Host Codes, and Free Catalogs! Check the bar across the top and you can read the details for each program. But those aren’t the only good things starting today… it’s almost like Christmas around here!
And speaking of Christmas… When I shared the Christmas in a Jar project last week, I mentioned that I would have something special coming soon regarding it. Today is that day! With every $50 Online Order (pre-tax and shipping) using the Host Code, I will send you the tutorial on how to make the jar as my thank you gift. Check out the Host Code pages for directions on how to use it.
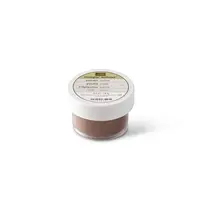
To get you in the mood for the Holidays, which are right around the corner (only 176 days to go), I have another fabulous Holiday project to share with you today. This one is quite a bit easier than the jar and goes together much quicker. Did you know that copper is “hot” right now in crafting trends? It’s also hot in home décor. I found this beautiful hammered copper picture frame at a local store and I knew it would go perfectly with our brand new Copper Embossing powder.
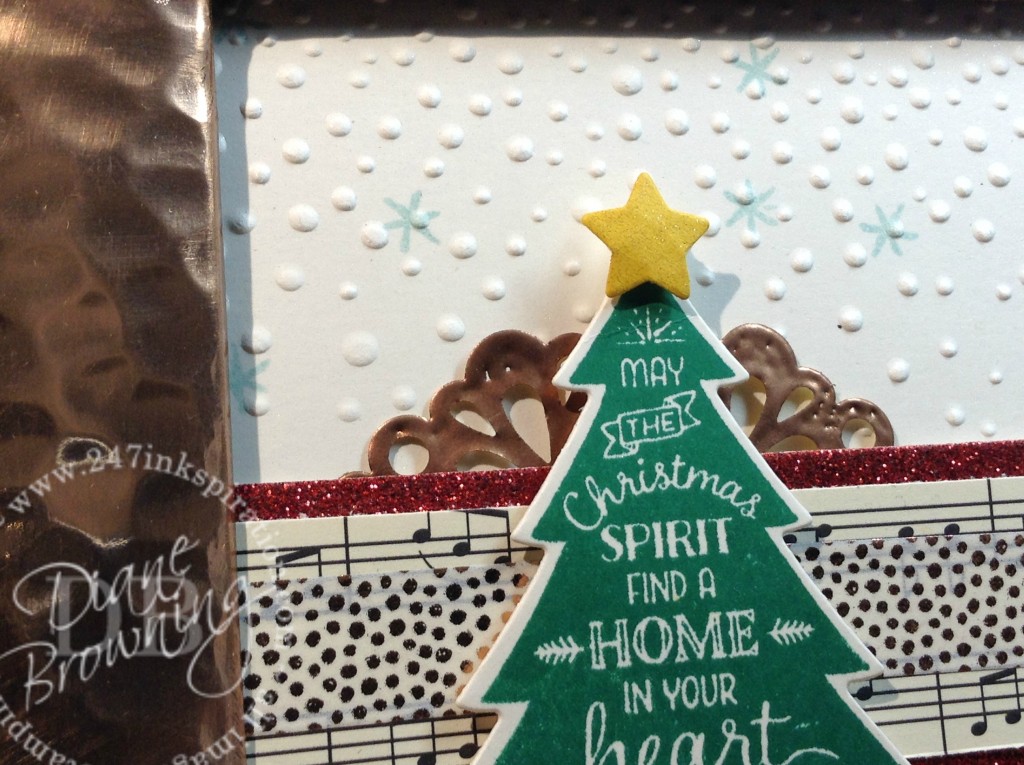
This frame fits a 4×6″ picture to give you an idea of the size. The glass has been removed to allow for the layers. A couple tips when making this: stamp the Soft Sky snowflakes before embossing the background and use Shimmery White card stock for both the background sheet and the tree. You can’t see the shimmer in the picture, but you will definitely see it in real life. The Crushed Curry star is covered in clear Wink of Stella.
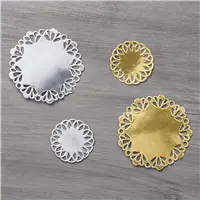
I love our Metallic Doilies and I was so relieved when they were included in the new Catalog. But did you notice that we do not have Copper Doilies? I’ve got my fingers crossed that maybe they are coming in the future, but we don’t have them now.
Or do we???? Did you check out the Doilie in my frame? It is Copper! Admit it, you’re dying to know how I got a Copper Doilie when Stampin Up doesn’t even make them, aren’t you? Here’s a secret. You can have Copper Doilies too! The back sides of the Metallic Doilies are white. I covered the entire back side of the Doilie with Versamark ink. Then I added Copper embossing powder and heat embossed it. I actually did this twice so it would look a little thicker than the regular doilie. And voila! Copper doilies!
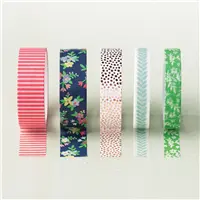
The Copper washi tape and copper doilie match the picture frame perfectly! I’m so pleased with the results. If you’re not a fan of copper, you can always use a gold or silver frame, and coordinate it with the gold or silver Metallic doilies and use a gold or silver washi tape.
I hope you enjoyed todays project! If you need help using the Host Code, please let me know. You can click on the Online Order button in the right sidebar and it will take you directly to my store. Happy shopping!








Leave a Reply