For the last couple of OnStage events, I’ve taken small boxes of treats to share with other Demonstrators. I give these to old friends and new friends I’ve made this trip. They aren’t meant to be a swap that I’m trading to get something in return. Instead, these are given to lots of different people, to Stampin Up employees that may have helped me with something or people who were just extra nice.
The boxes are our Pizza boxes and these are a great size for small treats, cash, or gift cards. To decorate the box, I just make a simple band and around it and everything is glued to the band. This makes it easy for the recipient to just slide the band off the box and enjoy the goodies inside.
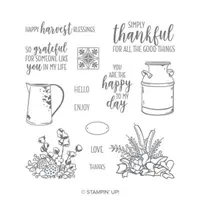
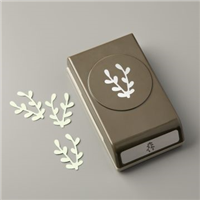
The milk can is the can from the Country Home stamp set. This can is quickly becoming a favorite as it can hold lots of different things. This time I punched out a bunch of greenery from the brand new Sprig Punch and added a candy cane to make it more festive. 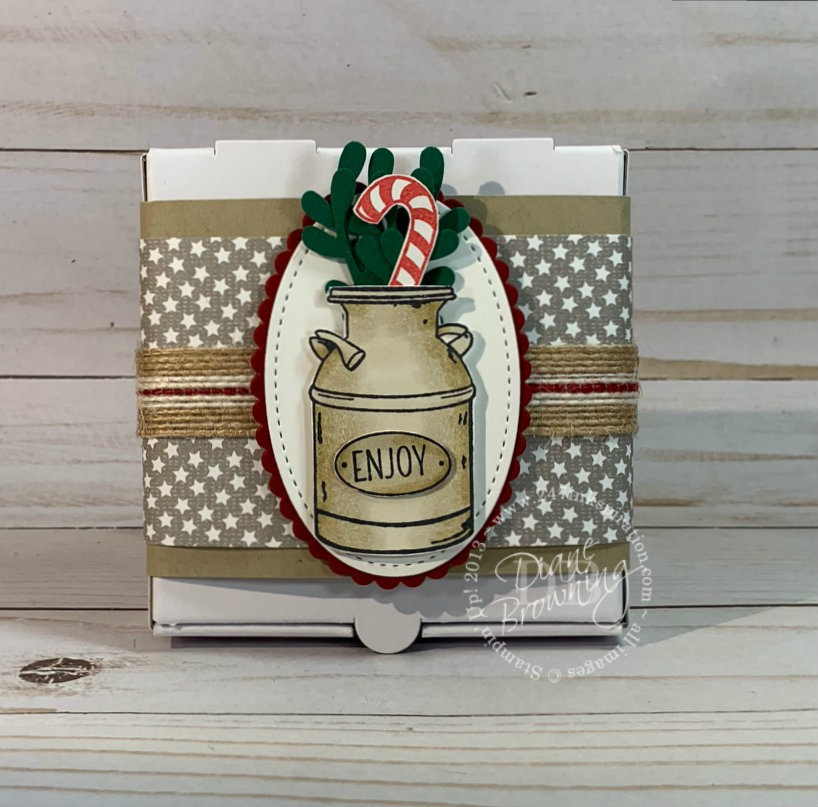 I colored the can with our Blends markers. First, let me start by explaining that I’ve had a lot of experience using Copic markers, which is another type of alcohol marker and you can do some pretty amazing things with Copics when it comes to coloring and shading. As I use my Blends markers (our version of an alcohol marker), I keep trying new things with them that I already know Copics can do. For this project, I mixed two different colors and blended them together. Not two different shades of the same color, but two different colors entirely and it turned out beautiful. It has that aged bronze metal look.
Here is how to achieve this look:
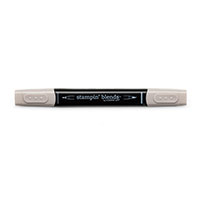
- Start with light Crumb Cake Blends and color the outside third of the can on both the left and right. Do just a quick, light coat. Leave the center of the can white.
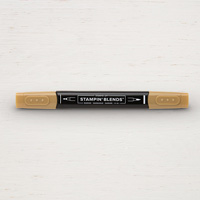
- Use the Soft Suede Light Blends and add in your highlights. For my project, the light source is pretty much dead on center, so my darker shading is on the very edges, under the handles and lip at the top, and the bottom edge of the can. All you need to do is just a very minimal amount of the Soft Suede where the shading is. You don’t even need to be sure it’s a solid strip of Soft Suede all the way down, just some brush strokes in towards the center of the can. Very, very minimal. Seriously, less is more when it comes to this step.
- Then use your Crumb Cake Light to go back over where the Soft Suede is. You’ll continue working along the edge of the Soft Suede until you have it blended in. When you start this step, you’ll be thinking there’s no way this will all blend out, but I promise that it does. Plus this is why I say to do a very minimal amount of the Soft Suede.
- So now you have a blended edge and a white center. Take your Crumb Cake Light, brush tip end, and just go across the center ONCE all the way down the can (I color things horizontally, instead of up and down).
- You should end up with a nice light color in the center, which is your highlight, and the edges will be darker, which is in the shaded area. You might need to practice this a few times to achieve consistent results.
I have a few more techniques that I use with Copics that I plan to try with my Blends. I’ll share them as soon as I have time to try them. Or, if it goes horribly wrong, you’ll never see it here and will hopefully forget I ever mentioned it. 🙂
There are tons of crafting products out there for purchase. Stampin Up has come up with their own version of products from time to time, and I love playing with them to see if I can achieve the same results with the Stampin Up version. I know some people are afraid to try things because they may end up “wasting” a sheet of paper. But really, paper is only a few cents a sheet. If you’re not happy with the results, just get out another sheet. Don’t be afraid to try new things. It’s only paper and you can always get more.
~
** November Customer Special **
For the month of November, I’m giving you a FREE gift with your purchase as a thank you for selecting me as your Demonstrator.
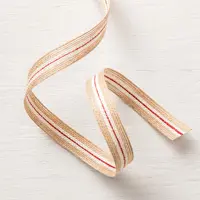
Purchases of $50 (pre-tax and shipping) will get a FREE Real Red Mixed Stain Ribbon ($6 retail price).
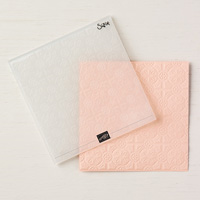
Purchases of $100 (pre-tax and shipping) will get a FREE Tin Tile Embossing Folder ($10 retail price).
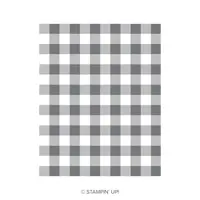
Purchases of $150 or more (pre-tax and shipping) will get a FREE Buffalo Check Clear Mount stamp ($15 retail price). Plus, you get all your Host Rewards in addition to this. This is the best value.
These are some of my favorites from the Holiday Mini Catalog and I hope you will enjoy them too.
Fine Print: You can place your order online in my shop at www.dianebrowning.stampinup.net or click on the Order Online on the right side. Or you can email me your order if you have a credit card on file with me already. Orders emailed to me won’t be placed until I return from OnStage (11/11). If you are worried about a product selling out, please place your order online right away.
More Fine Print: This offer is valid only through me and not any other Stampin Up Demonstrator or through Stampin Up directly. This is my thank you to you. If any of the above items are sold out or no longer available, I may substitute with another product of similar value. I will ship these items separately once I have verified your order. If you qualified for the Tin Tile or Buffalo Check stamp but already have them, please let me know so I can substitute for something else. You will receive only the one item based on the total amount of your purchase, not all the items.
`
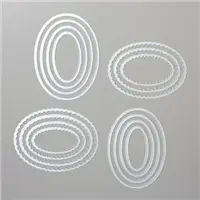
Our Snowflake Showcase is an exclusive group of products that will be available only during the month of November or while supplies last. I think I’m most excited about the snowflake dies and the White Velvet paper. You have until TOMORROW (November 10th) to subscribe or redeem a pre-paid code to get this next kit. November’s kit will make 10 cards; 5 of 2 unique holiday designs. If you want to make sure you have extra supplies on hand to make alternate projects, the coordinating colors are: Cherry Cobbler, Crumb Cake, Garden Green, Gold, Soft Suede, Very Vanilla, Whisper White.
 Check out our brand new accessories for your Stamparatus! We have grid paper which is specially sized to fit the Stamparatus. This ensures that your paper is straight before you stamp on it. Extra plates for when you have those really big projects that use a lot of stamps. And an extra foam mat to give you better results when you use photopolymer stamps.








Leave a Reply