If you’re like me, you might have a couple craft projects lying around. You finish up your project, but then you end up with leftovers. What do you do with the leftovers? Are you a saver? Or do you just toss/give to someone else? The ultimate conundrum: this is still perfectly good, but what am I going to do with leftover bits?
A couple years ago, my crafty friends introduced me to the world of diamond appliqué. If you’re not familiar with this, it’s like a paint by numbers canvas, but you stick super tiny “diamonds” on the picture to bring it to life. The diamonds in the kit are a multitude of shades and if you follow the paint-by-numbers on the canvas, you end up with a beautiful picture. You buy an all-inclusive kit to make your project. Then you toss whatever leftovers you have, because the next time you buy one, your kit will have the different colored diamonds in it for that new kit. There are probably hundreds of different shades of diamonds.
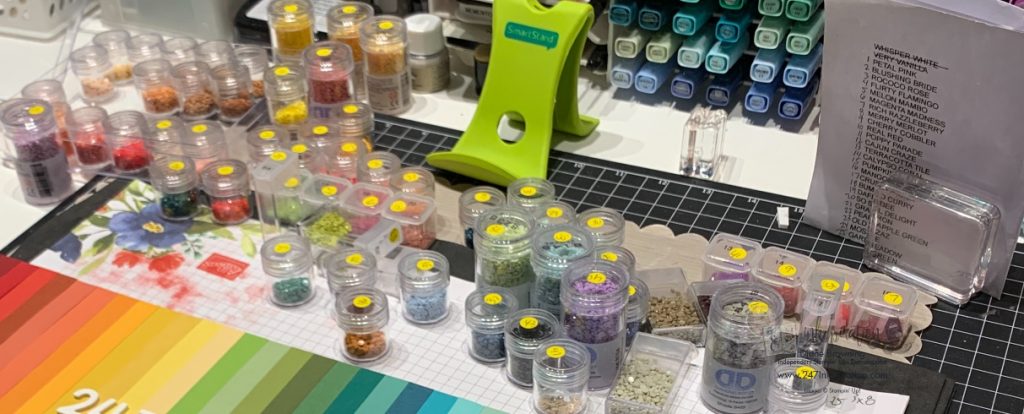
So I’ve now made a couple of these canvases and ended up with quite a stash of leftover diamonds. These fall into the category of “they are perfectly good, but why am I hoarding them because that project is done”. And when you hoard them, you end up with literally dozens of these tiny jars of diamonds.
I decided that it was time to move from the collecting phase to the actually doing something with them phase and that’s how I came up with this project.
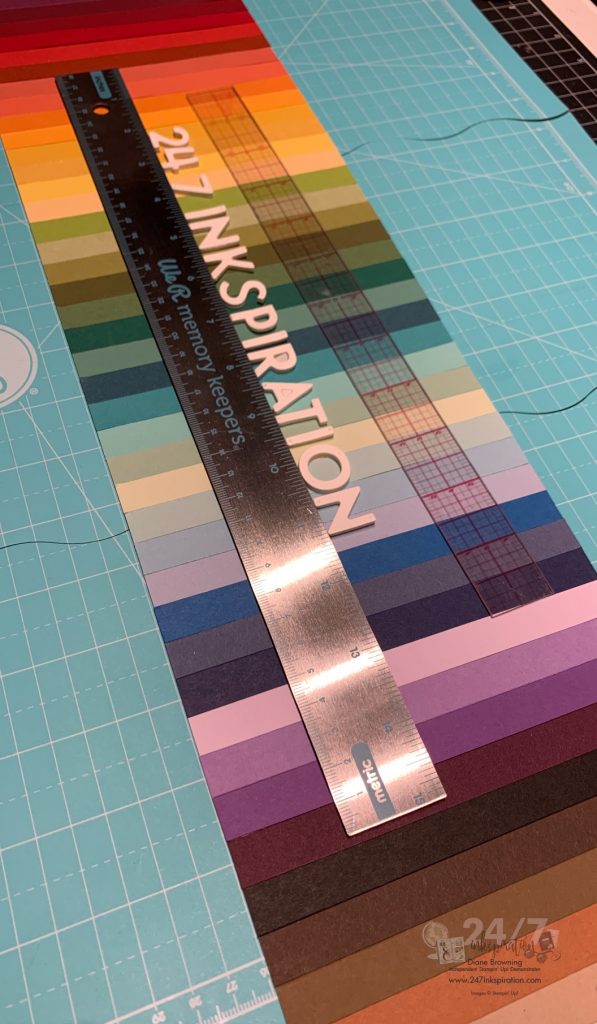
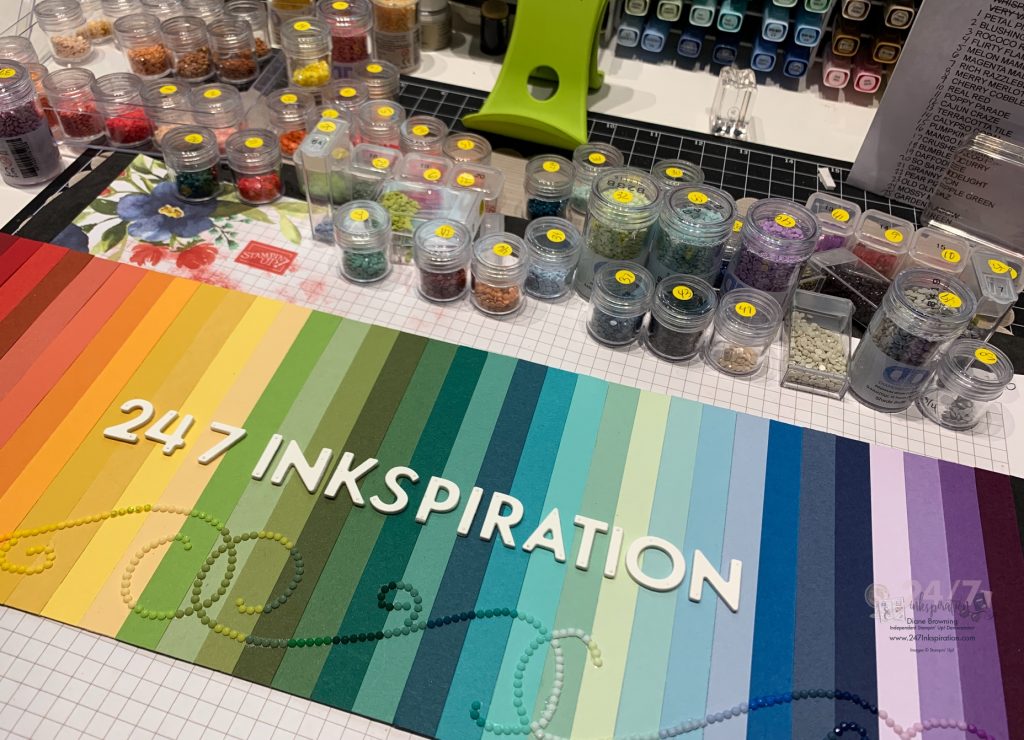
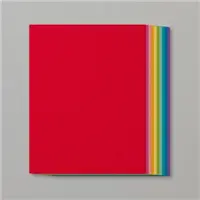
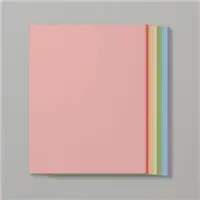
I love the pretty colors of the rainbow and I was pretty sure I could make this work. I cut a strip of white card stock to 5.75 x 12″ and then taped two of these end to end and added another 5.75 x 1.75″ section onto the end of the 24″. This gave me a strip of paper that was 5.75 x 25.75″ long. And here’s where the fun begins… I cut strips of every color of Stampin Up card stock to .48″ x 6″. Then laid them out in rainbow order.
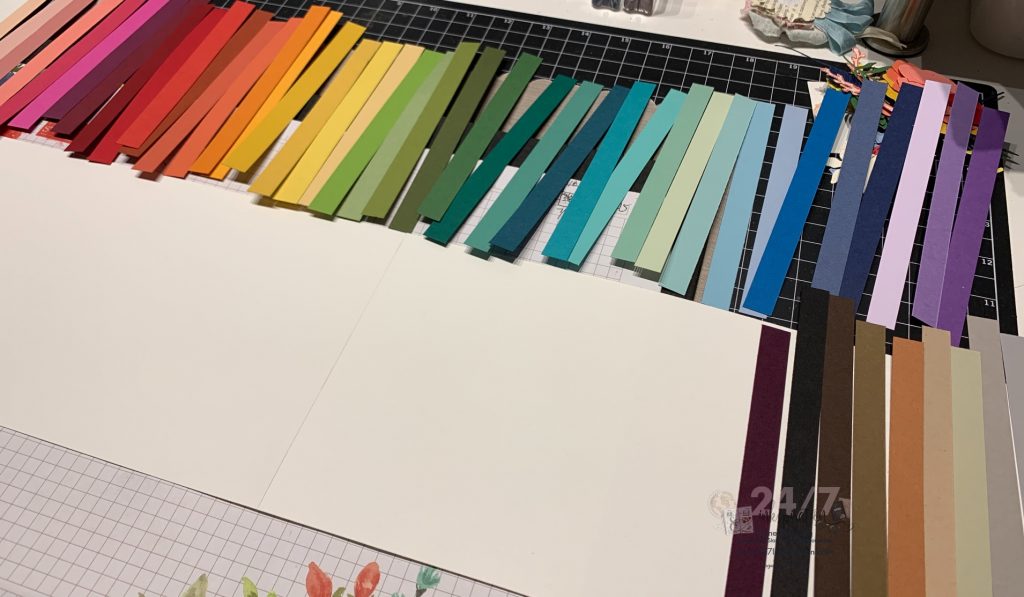
Using our Tear & Tape in long strips across the white card stock, I started glueing down each piece of colored card stock. I was very careful to make sure they all lined up perfectly so I would not have any gaps between the colors. Here’s a close-up view of what they look like glued down. This rainbow just makes my heart happy.
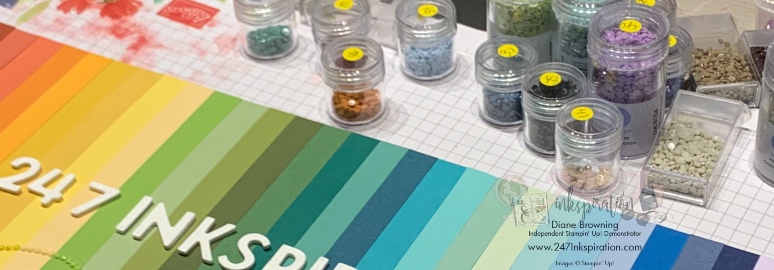
After I had my background ready to go, I added my letters 247Inkspiration, which is my brand name. The letters are die cut out of white card stock and I used our Foam Adhesive sheets to give them dimension. To make sure I had it level, I used a magnetic cutting pad and ruler to be sure everything was straight.
For my next experiment, I used an electronic die cutting machine to die cut swirls out of our adhesive sheets. It actually worked pretty well. Here is what it looks like with the swirls on my background with the backing paper still attached. I wasn’t too worried about any rough edges because the adhesive itself is clear so you won’t see any imperfections once you peel up the backing paper.

This is where it gets fun. I started by color matching all my leftover diamonds to each of the Stampin Up colors of card stock. I labeled each jar with the colors in order. I had diamonds in all but 9 of the colors. That’s pretty amazing considering this project has 51 colors in it. I did buy jars of the 9 colors I was missing. Then I started on the left side and slowly peeled a section of the backing paper and applied the diamonds in order by color. I continued to work my way across in small sections. And in case you’re wondering, individually applying all those diamonds in just the right order took about two hours.

Here’s a close up view of what it looks like with the diamond swirls.
Here is the final project, framed and hanging on the wall in my studio. The frame is 8″ x 28″. It’s hard to see the diamond swirls in the photo below, but it looks pretty cool in person. Plus with the diamonds color matched to the card stock, they are supposed to be subtle.
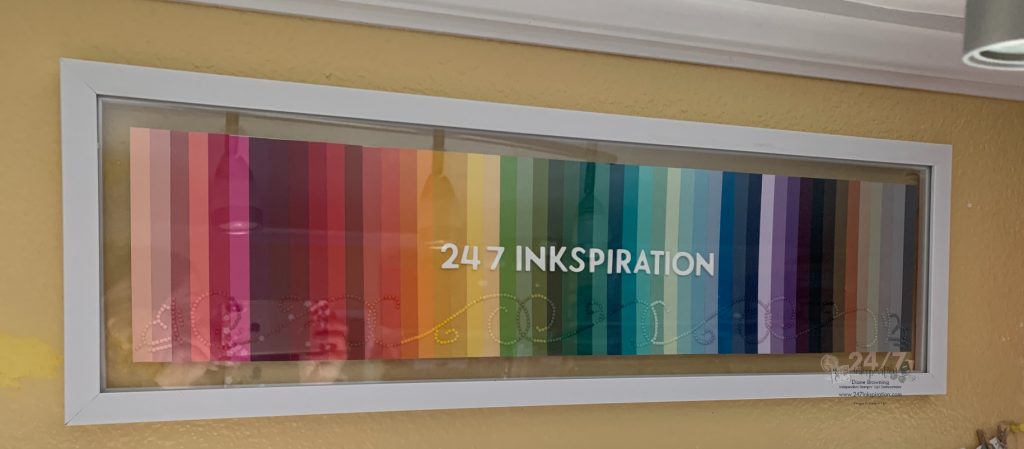
My crafty friends tell me I go a little over board with some creative projects. I have no idea what they are talking about. Haha! Anyway, I think this was a creative way to use up some leftover bits from past projects to make something totally new and different. And, yes, I still have lots of leftover diamonds for a future project.
PS. If you’re wondering how you cut a strip to .48″ instead of .50″ wide, it took a bit of patience. The Stampin Up trimmer is really good for this project because it has markings for every 1/16th of an inch. I would line it up on the .5″ mark and then just move it a hair to the right to make it just under .5″.


Leave a Reply