I love the adorable little picnic baskets that came in the July Paper Pumpkin kit. But I don’t really have a lot of room to store 3D projects like that in my studio. Seriously, I would be overrun if I kept one of everything. Still, I really wanted to enjoy the look of the picnic basket and knew a Sampler would be perfect to display something like this.
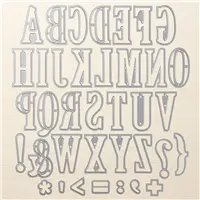
I took most of the various pieces from the July kit to make my 12×12 Sampler. I used the 3×3″ card fronts for the three fruits at the top and made them just like the July directions but left off the tags with the sentiments.  The word Picnic is die cut from the tissue paper that goes in the picnic baskets. I also cut the letters out in Poppy Parade and layered the tissue letters on top to make it easier to adhere them. That tiny fork is metal and I picked it up at a local craft store some time ago. It’s the perfect size to match the Picnic letters.
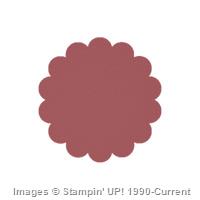
I cut the side off one of the picnic baskets and used it here to help fill in my Picnic theme. I used my scallop circle punch to cut the apple so it looks like a bit was taken out of it.
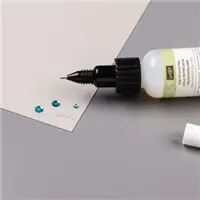
The blueberry jars in the bottom left square took a little bit of time to make. I used the same jar tags from the Kit, but cut along the score line to cut out the middle. I used a bit of our window sheets and glued it to the inside of the jar using fine-tip glue. Our foam adhesive strips are perfect for shaker cards and elements, but they were actually too wide for the jar once I cut out the inside. I ended up having to cut the foam strips in half lengthwise to make them thin enough so you can’t see them. Then I filled the jars with my blueberries and added the white card stock on the back to close up the jars. 
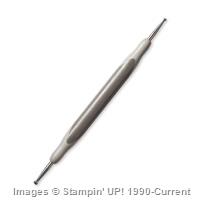
The blueberries are loose inside the jar and they roll around when you turn the picture. To make the blueberries look rounded. I punched them out, then used my Stylus from the Simply Scored tool around the entire edge of one side of the circle. This makes the paper curl up so they look rounded. The blueberries have a front and a back. I used a dimensional between the two to keep them rounded.
This project turned out really nice in the frame. I’ll keep it out a while and when I need this frame I’ll just take out this Sampler and replace it with the next project.
One key tip when making these Samplers is to plan ahead. You really need to measure everything ahead of time and plan it out. I knew my Picnic and the Basket would need two spaces, and I wanted everything to line up properly. And I wanted everything equal distance from each other. A ruler and a pencil will be your best friend when it comes to these samplers.
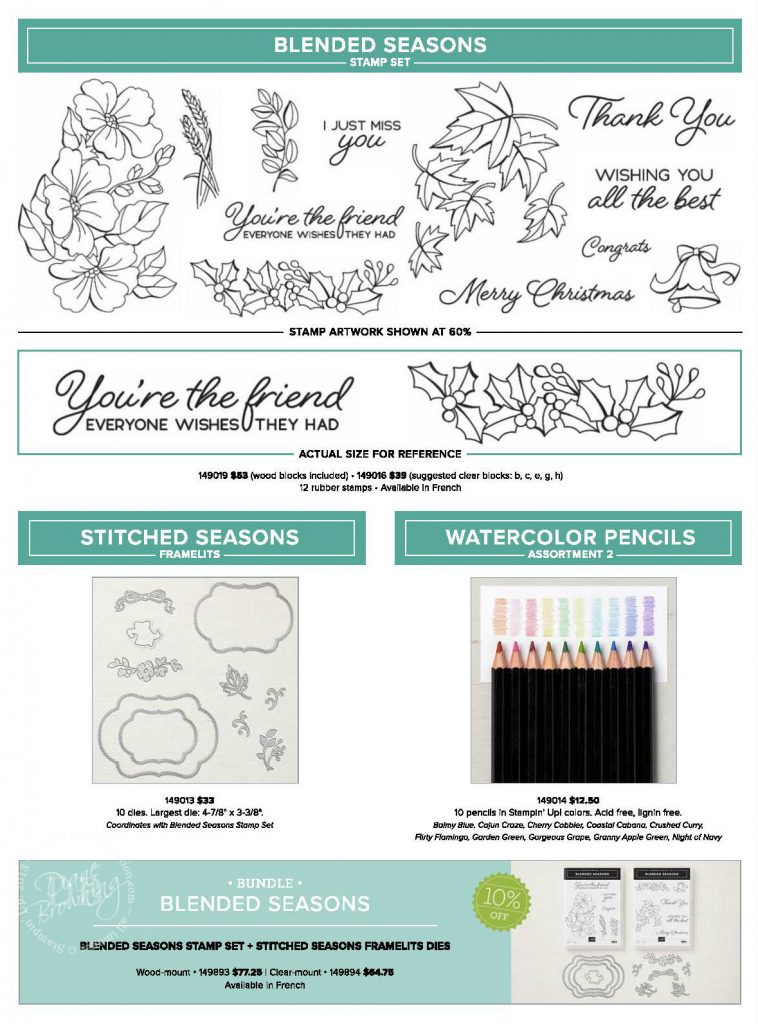
Available August 1-31st (or while supplies last), is the brand new Color Your Season release. This release is comprised of the Blended Seasons stamp set and Stitched Seasons framelits. Also available is a brand new pack of Watercolor Pencils (Assortment 2), which you can purchase separately. The stamp set and dies will be available only during this promo. The Watercolor pencils may be available in a future catalog. 
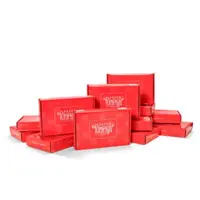
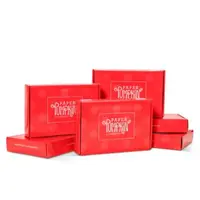
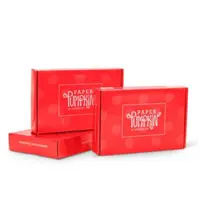
Our Paper Pumpkin special is still going strong. Subscribe between July 11–August 10 and you’ll get 50% off your first kit. This is for new* month-to-month subscribers only and cannot be applied to prepaid codes. The 50% discount only applies to the new subscriber’s first kit shipped. After that, the price for each month’s kit will return to the regular price of $19.95.
*Wondering if you’re a new subscriber or not? Paper Pumpkin subscriptions are tracked by email addresses, not mailing address. If you’ve been a past subscriber and you’re missing getting the kits, you can take advantage of this opportunity under a different email address than what you previously subscribed under.






Leave a Reply