Today I’m sharing a quick and easy bunny tag that you can add to your Easter basket. This is the tag that I made.
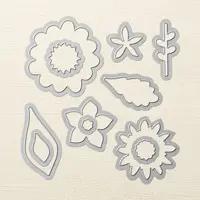
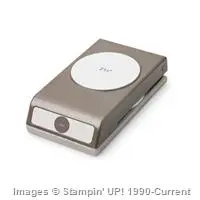
 I know what you’re thinking. You’re wondering where I got that adorable bunny punch/die because you didn’t see one in the Stampin Up Catalog. I gotta tell you, you’ve seen exactly what I used but you may not have added all the pieces together yet. Using these three items, you get a bunny punch!
Do you see it? The smallest leaf on the bottom left is the ears, the 1-3/4 circle is the top of the bunny and the 2-1/2 circle is the bottom of the bunny!
Here’s how you make this tag.
- Cut cardstock into 3×6″ strips.
- Starting at the bottom, punch the largest circle.
- Then overlap it with the smaller circle and punch.
- Using the smallest leaf, overlap the very edge with the circle space and run it through your Big Shot. You will want to hold the die in place using wash tape or a post-it. This is one time when it’s critical that it doesn’t slip.
- Then repeat to die cut second ear.
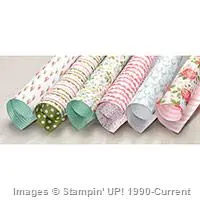
- Add dimensionals to the back side of the cardstock and fasten down to the pattern paper, which is also 3×6″.
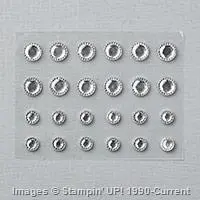
- Add the Iced Rhinestone as your tail.
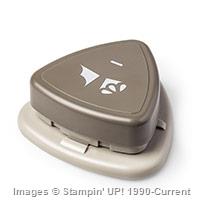
- Using the Curvy Corner Trio Punch, punch the corners.
- Using the Curvy Corner Trio Punch, punch the center so you can tie on your ribbon.
- Stamp the sentiment on a separate piece of paper and attach to the tag with a safety pin.
You really can make this in about 5 minutes if you know what the plan is, have your supplies ready to go, and move along quickly. Here’s a girl version and a boy version of the bunny tag.

Do you have your Easter goodies ready to go yet? Easter is in TWO days! You better get busy already!







Leave a Reply