I don’t know about you, but I’m loving these Five Minute Fridays! I love the challenge of coming up with something nice looking and quick at the same time. Some of you may be wondering, how I make a card in five minutes or less. I do have a couple short cuts which help.
The first short cut was inspired by another Stampin Up Demonstrator (actually, I think I saw this same idea on a couple different blogs). She said she takes her cardstock to an office supply store and has packs of paper cut professionally. My first thought was OMG you can do that!?! My second was if I did that, I would need a place to store it all. So, I cleared off some space on one my shelves so I’d have a dedicated place. Then I purchased packs of paper in colors that I usually use for my card bases (neutrals, greens, blues, yellows, red). I ended up with around 9” stack of cardstock. My local Kinko’s charged me about $4 to cut the entire stack in half. Seriously, $4? So worth it. It’s such a timesaver! Plus no ragged edges from a trimmer blade that’s no longer as sharp as it used to be. Now when I want to make a card, I just grab a card base and I’m on my way.
Here’s what my card base storage looks like. These shelves are actually CD holders that have been repurposed. I have dividers in between each color with labels so I know exactly what I’m using.
My second short cut is letting the professionals help me. What? You don’t know any professionals? Of course you do, you just didn’t realized it. That stamp catalog or craft magazine you’ve been drooling over is created by professionals. I flip through the catalog looking for the stamp set I want to use and see how the professionals used it. Then I take that idea and make it my own. Sometimes I copy their ideas and sometimes I copy the design and change everything else – colors, stamps, paper, and embellishments.
My third short cut is limiting the supplies I plan to use. You can’t use every supply you own and make a card in five minutes. And of course, these are not technique cards or wow cards. Techniques take time to do and “wows” tend to use lots of layers, embellishments, or fancy folds.
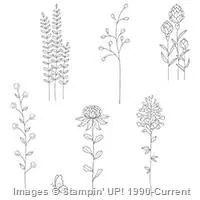
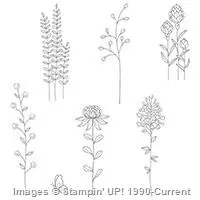
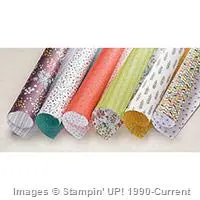
So, now I have a rough idea of what I’m going to do and begin stamping and piecing it together. I’m using the Flowering Fields stamp set and Wildflower Fields paper again today (because it’s still on my desk from Wednesday’s project).
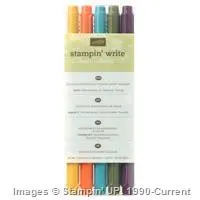
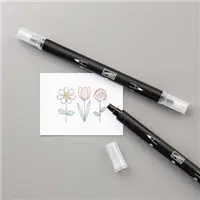
 Wondering how I colored in my flower and leaves? Super easy. I used colored markers on the stamps instead of stamp pads, then stamped the flower. Using a blender pen, I colored in the flower. The blender pen pulls the ink from where you stamped and fills in wherever you color with it.
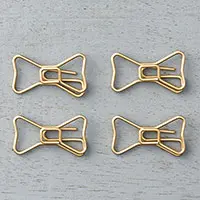
And do you see that adorable bow paperclip? So cute! What is it about miniatures that make us love them? Seriously, I want to hoard them and not share. Maybe I’ll order another package so I can share some of them.
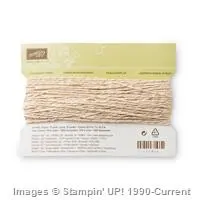
I tied a bow with my Baker’s Twine to the bow paperclip. I have to be honest – bows and I are frenemies. I love the way they look, but getting them to lay just right make me want to pull my hair out. This one turned out ok on the first try, which means I was able to complete this card in about 5 and a half minutes. I’m still calling this a five minute card even though I went over by about 30 seconds. I’m sure there are people out there not bow-challenged like me and can whip them out crazy fast.
Be sure to check back Monday so you can see how I turned a Christmas card into a Spring card. You’re going to love this idea!


Leave a Reply